The Hanna Garden - June
The month of May was roughhhh. Maybe more on that another day another blog post. In the midst of low I felt so called by Jesus to go back to simple. Words that stood out to me:
Homemade
whole foods
animals
slow mornings
Gratefuls
documentation photography
time with Sawyer + Zo
warm breakfast
podcast
grounded
Create
legacy —> generations
consistent
Outside
Blog
Tidy
Naps
Organization
energy —> life giving
Books
still
comfort
home
Garden + CanNing
Here’s phase two of healing. (Yes I know I skipped phase one; again, another day another blog.) I’m inviting you to follow along with me here on the blog for the first official Hanna Garden! Disclaimer; while I’m surrounded by super successful amazing gardeners, I’ve never done this before and there is a SOLID chance it’ll produce no produce, but I’m here to give it my best try. If I’m being honest this is year three of starting the process. Year one, purchased all the plants and seeds. Year two, purchased all the plants and seeds + tilled the space. That brings us to here; giving my best shot on year three. Let’s see if we can get to canning season with any produce to actually can; but second thought, isn’t the most growth found in the process?

Buy supplies + seeds
seeds
seed starting mix
seed starting pots
tree trimmers
Start seeds
All seeds (listed at the bottom of this post) + supplies were purchased from Walmart + Menards.
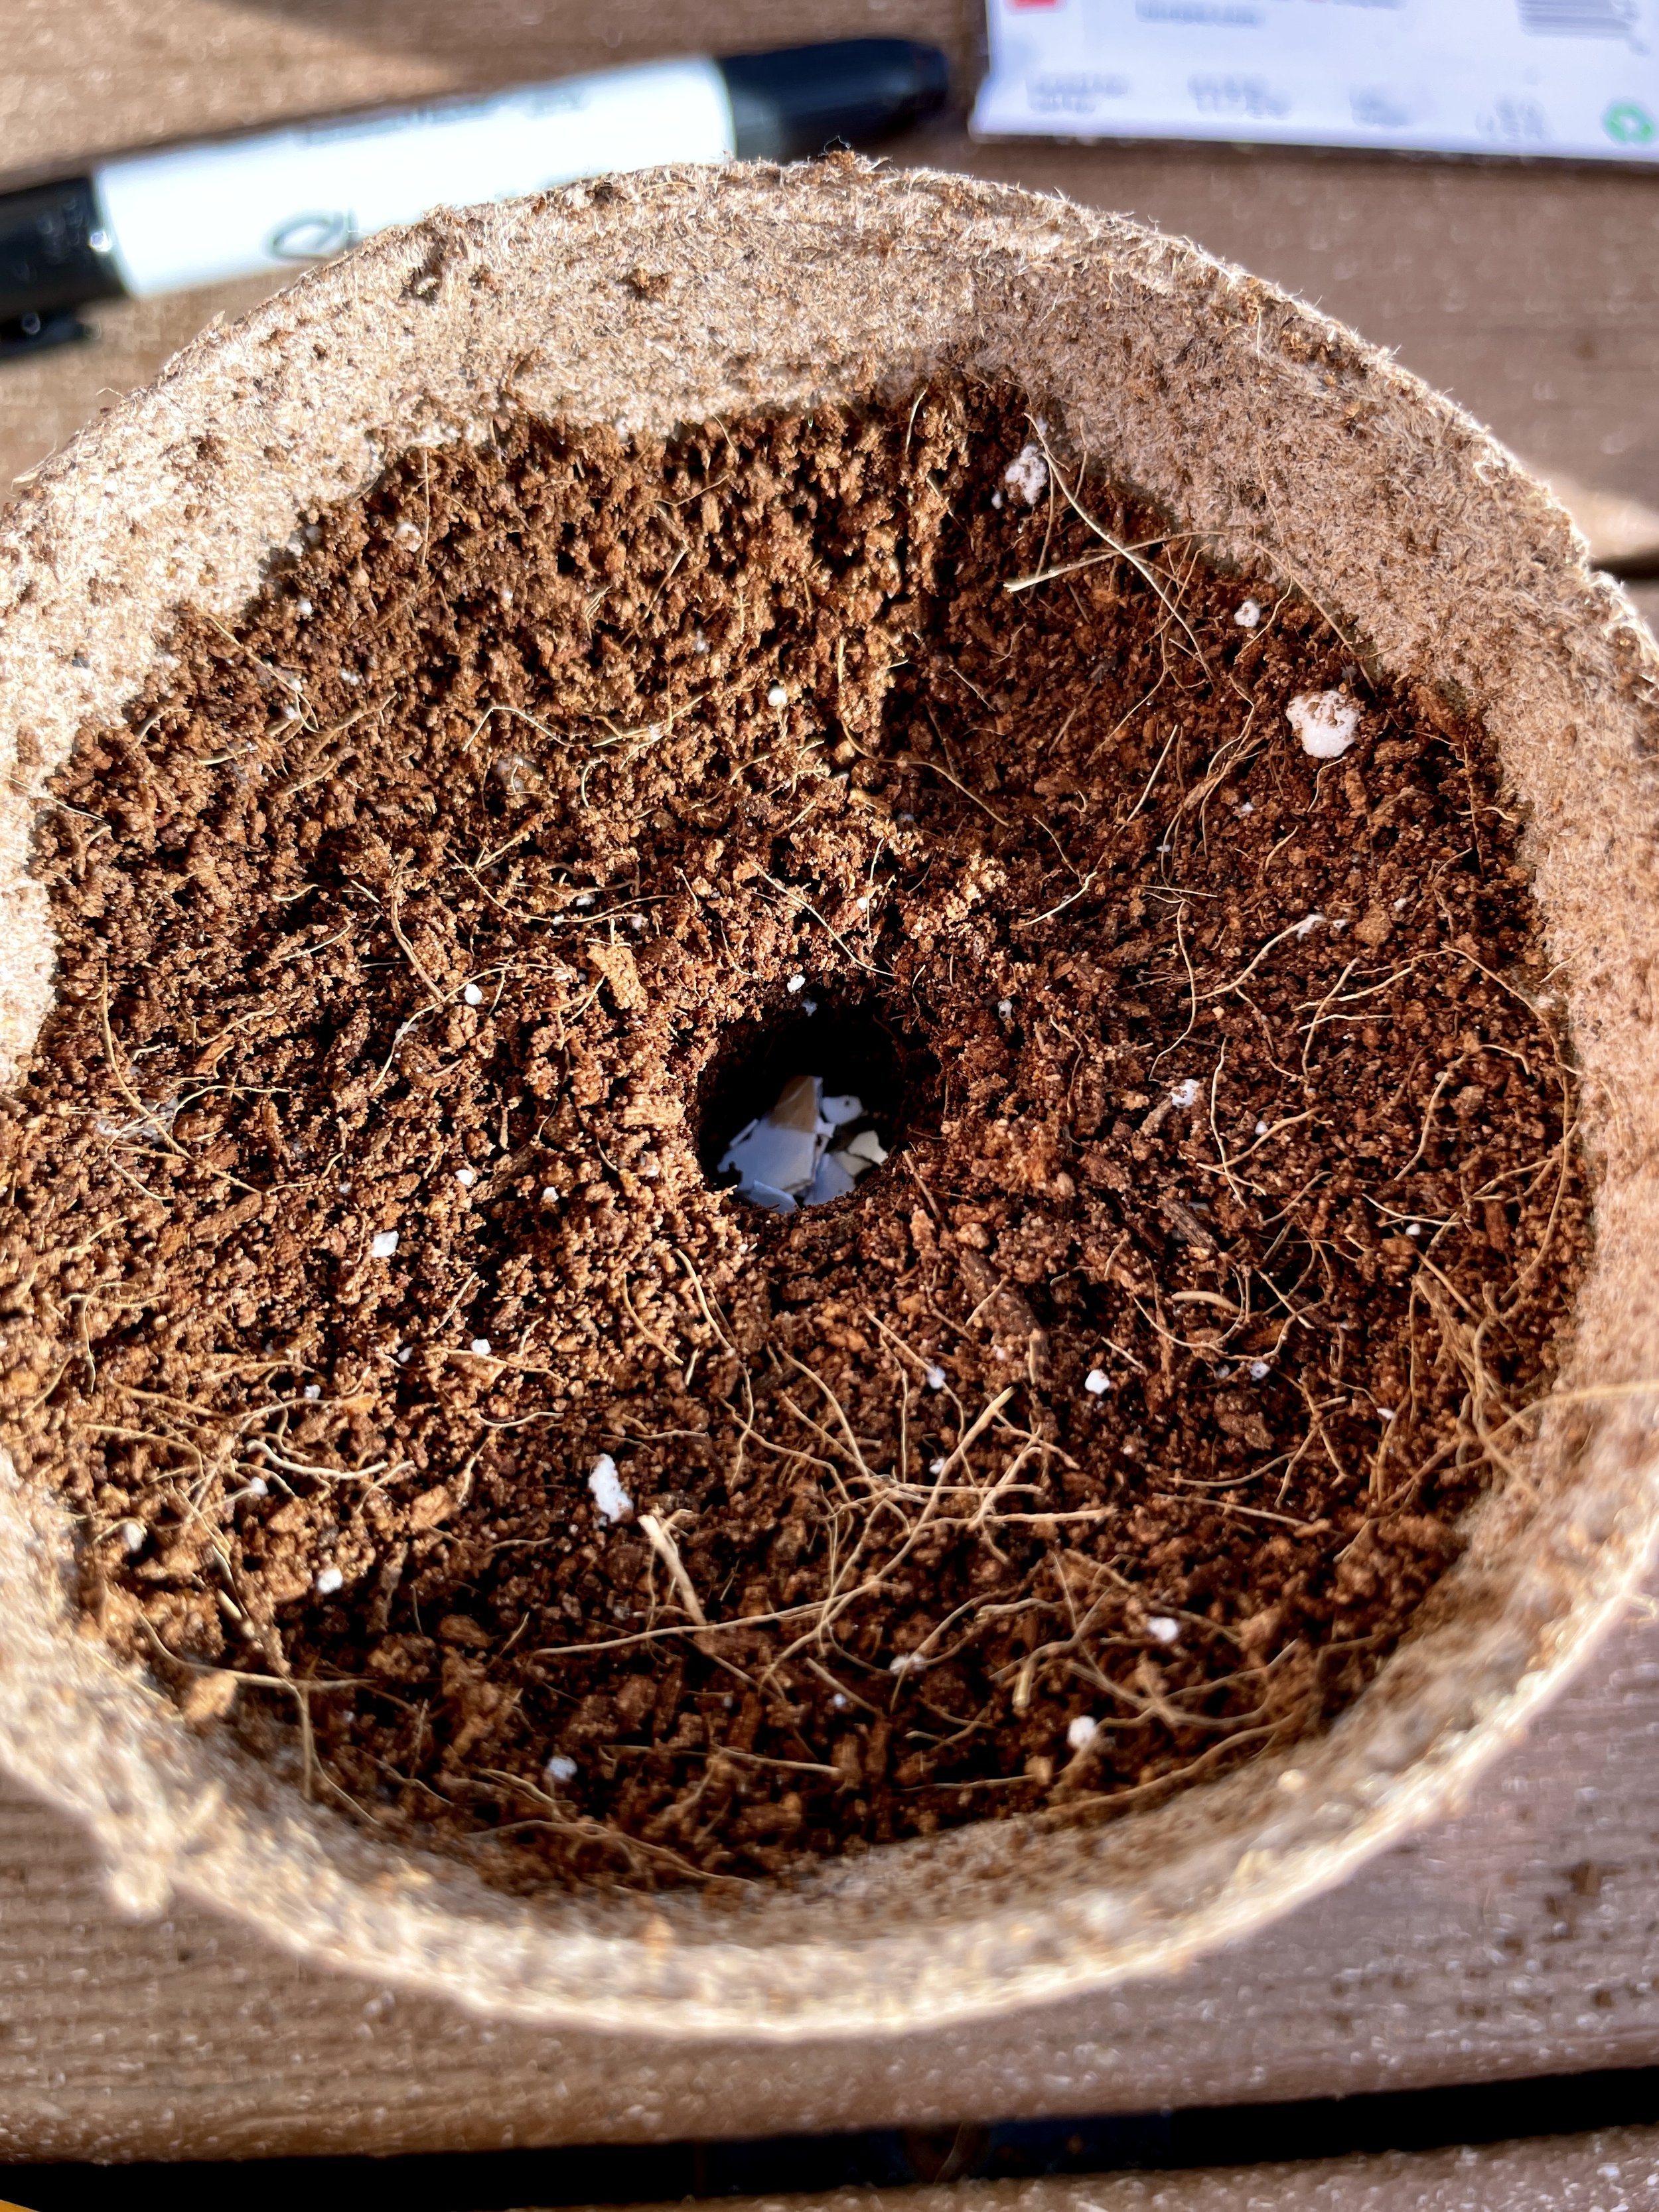
First I filled the biodegradable seed starting pots with seed starting mix. I then poked the appropriate depth hole with my finger based off the back of each seed packet. Lastly, I put a layer of crushed eggshells at the bottom of each hole for nutrients, dropped in a seed or two + covered with soil mix.

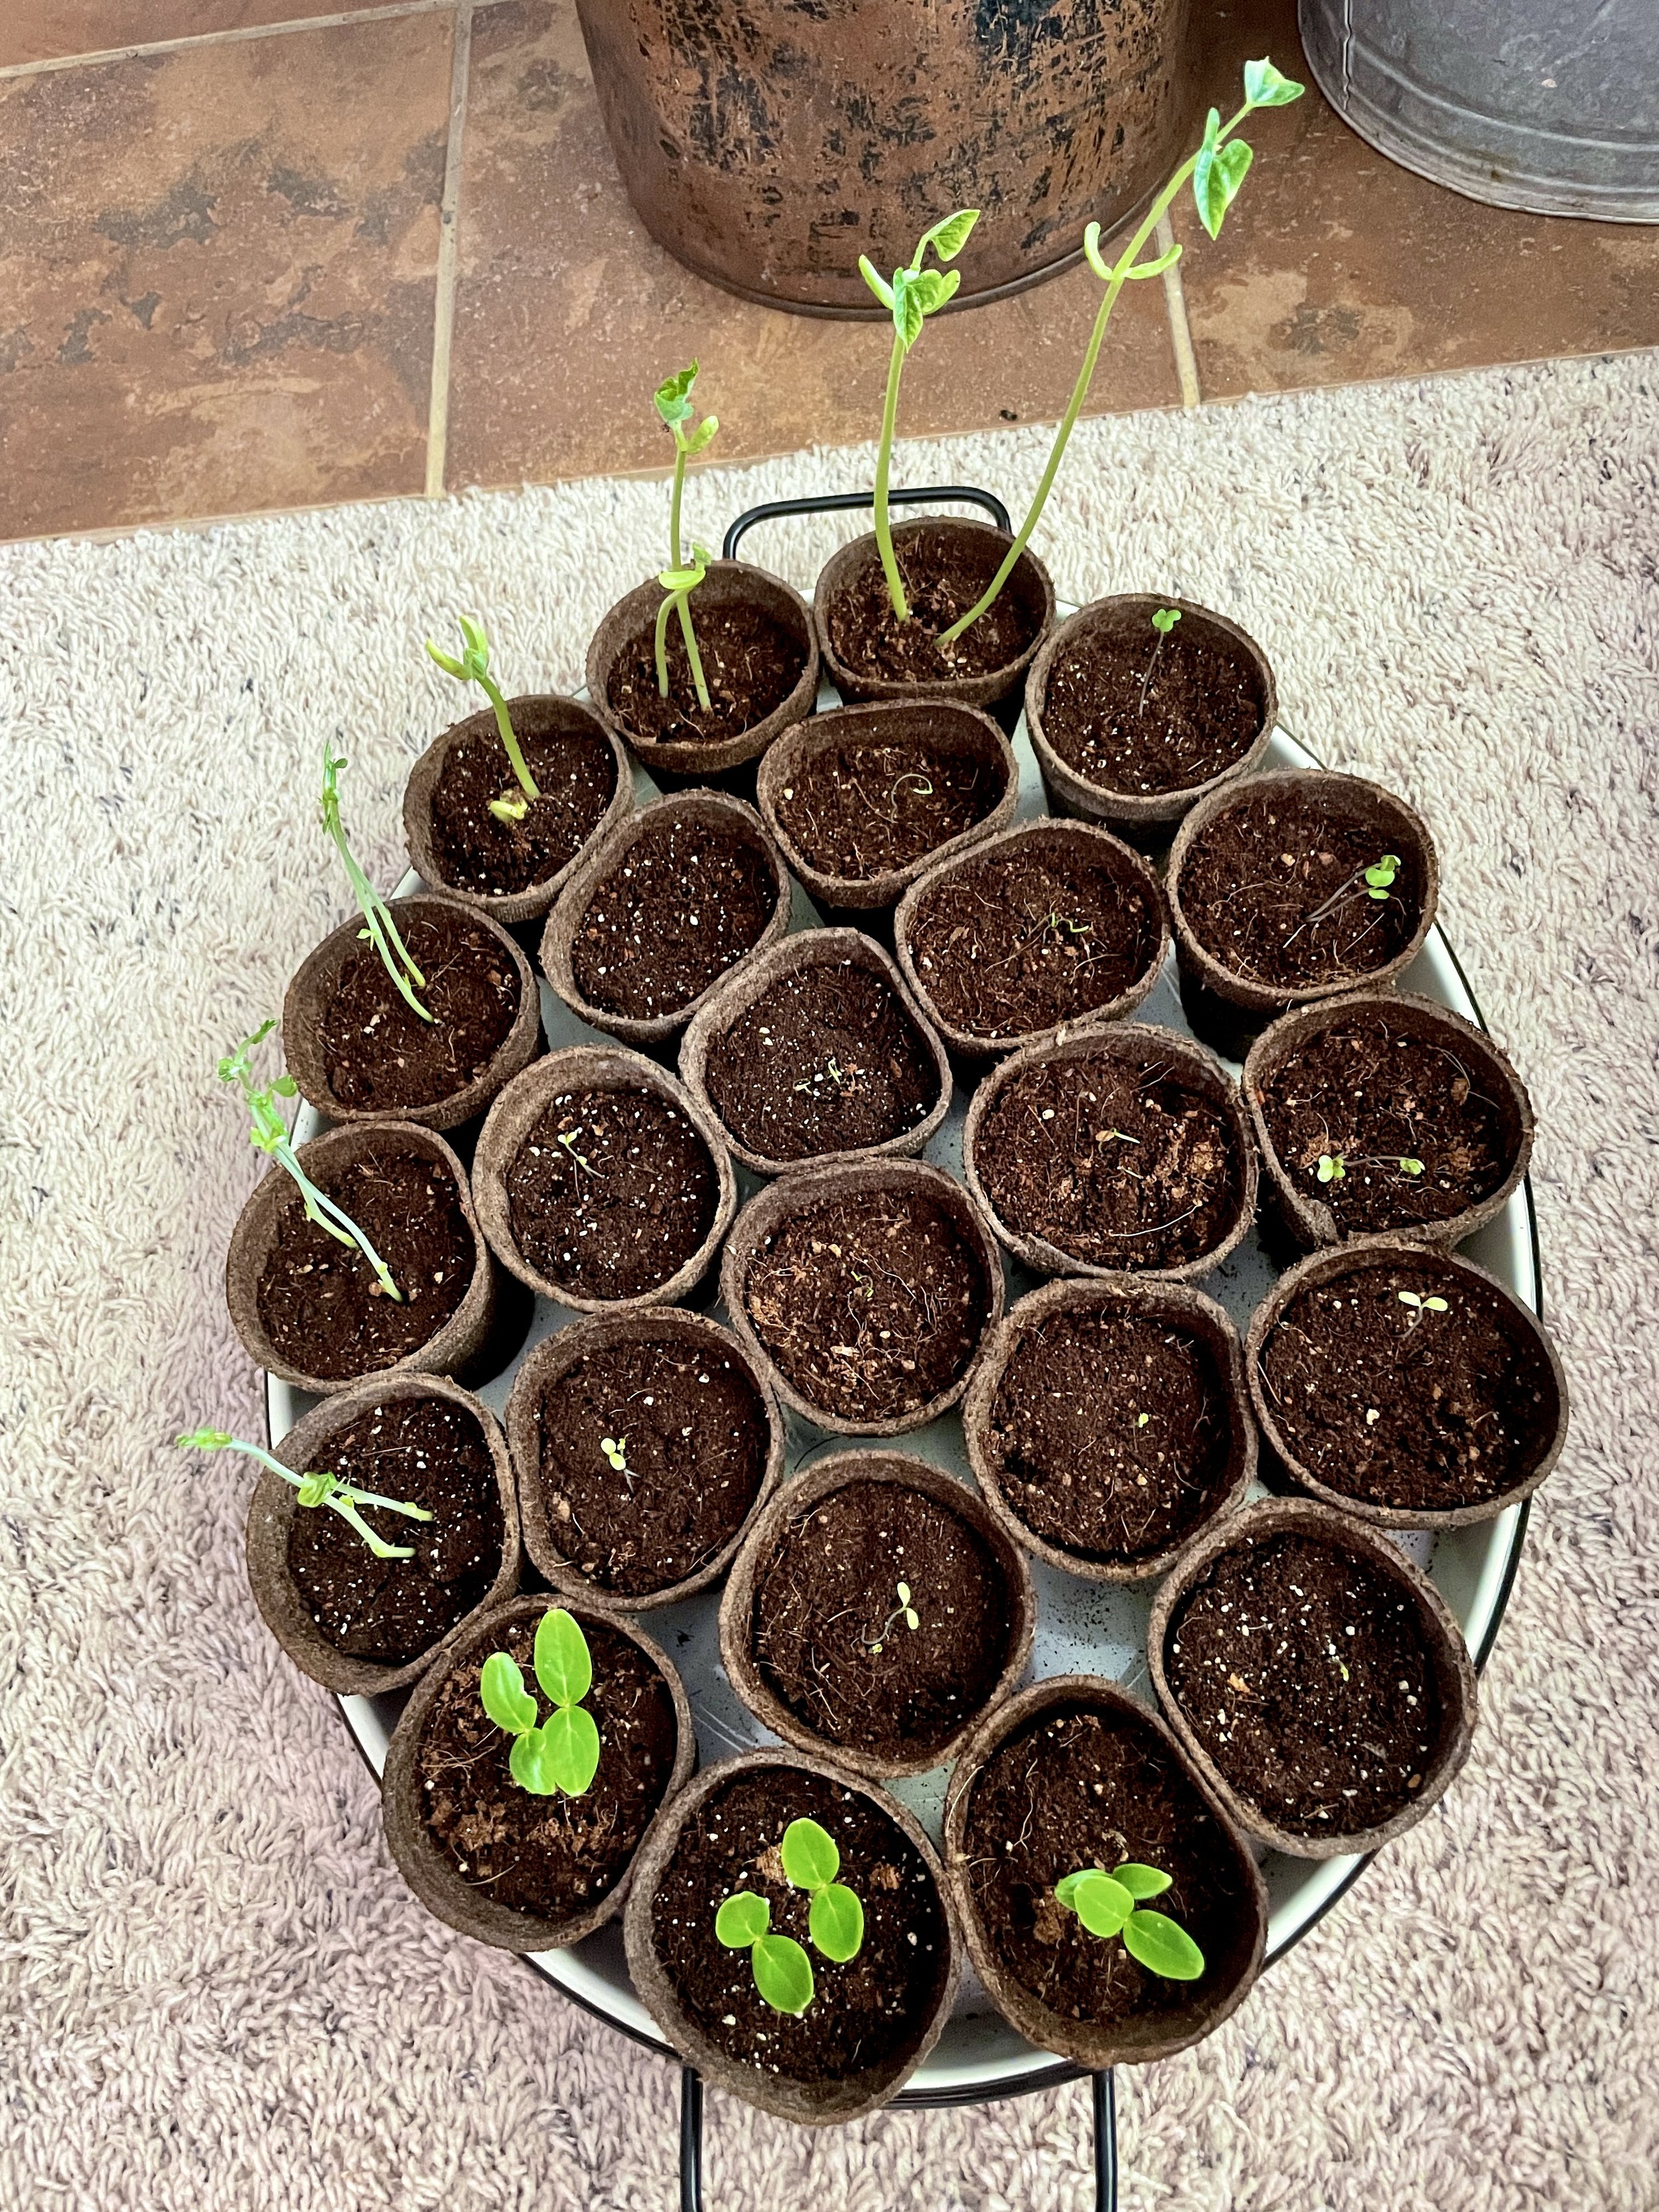
Mini indoor greenhouse
After getting all the seeds in their pots I put all the pots in a kitchen serving tray with about 1/4 inch of water at the bottom. I covered with Press + Seal and placed the tray in a window with the most light away from the A/C vents. Until the pots were ready to be put in the ground I checked them daily always making sure they had water in the tray.

One week

Plants
All plants (listed at the bottom of this post) were purchased from Huebners, a local green house.
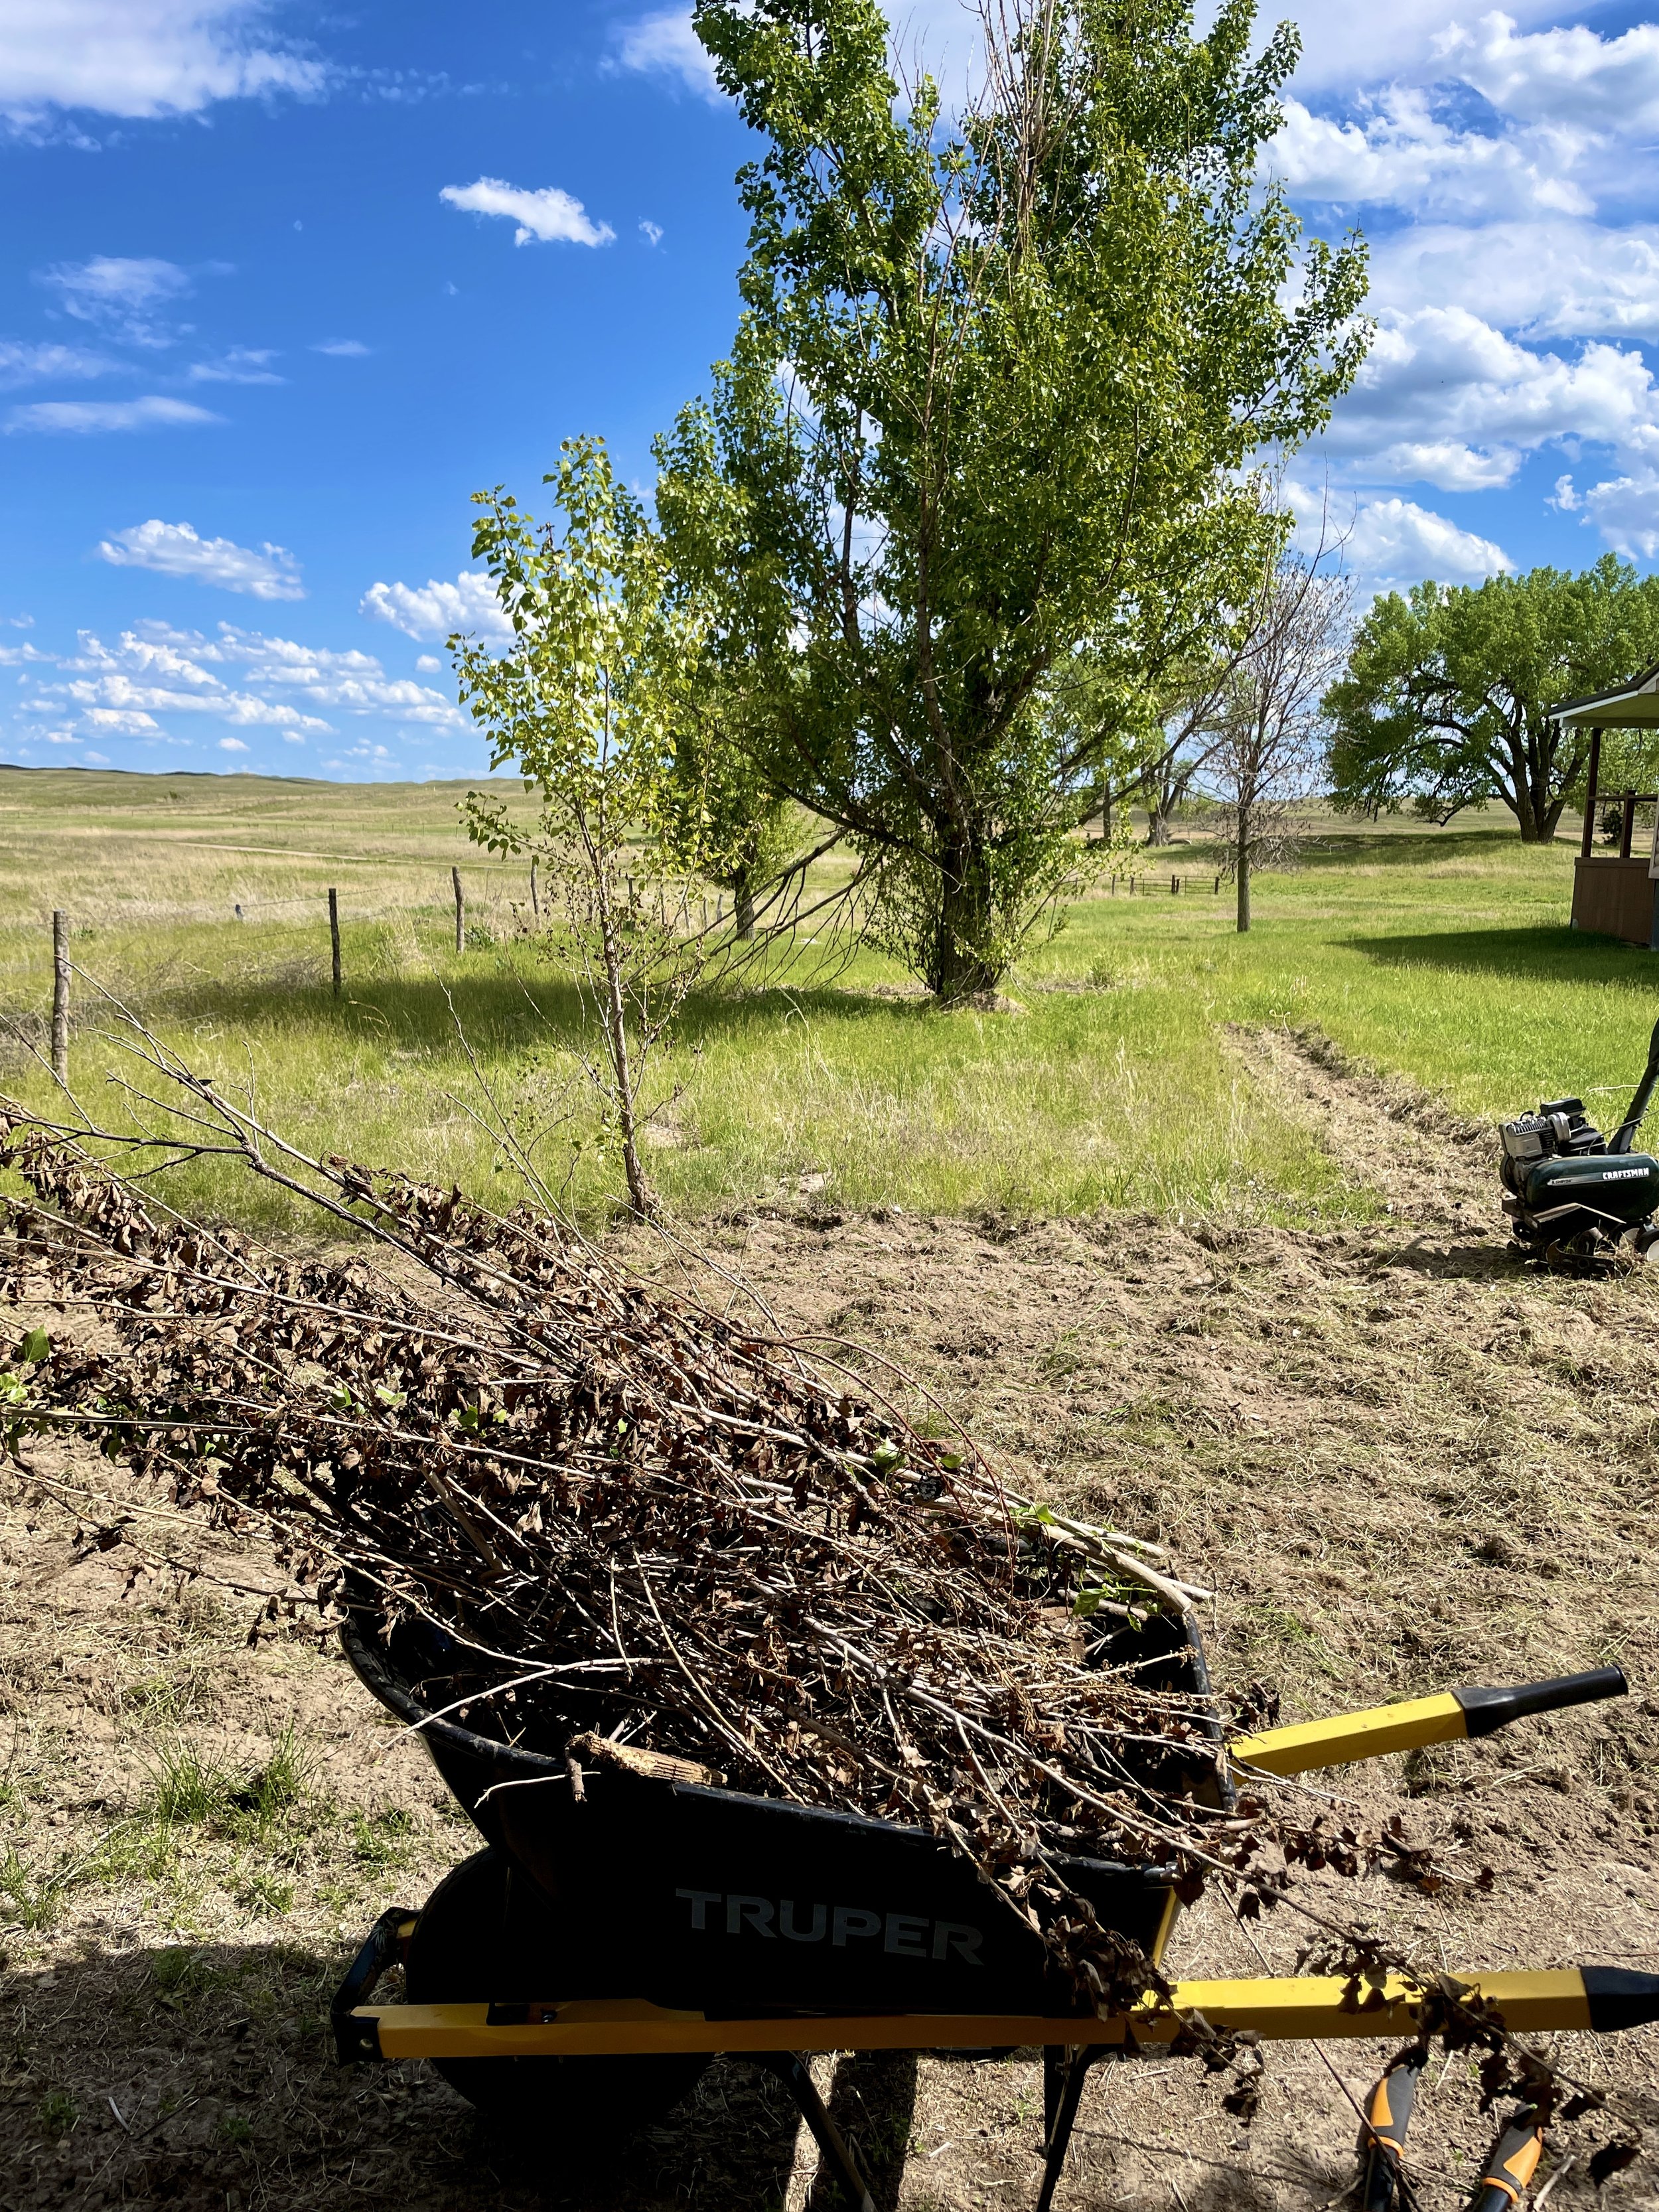
Tree + branch clean up
The biggest and most daunting of tasks for me up until this point. There was an over abundance of small trees that had started all over the garden space. I spent about 3 different mornings or afternoons trimming and hauling away branches.

Till round one
After getting all the trees and branches removed I spent a long day tilling the space. I used my Mom’s old tiller and wasn’t the most impressed with the job it did.

Whoops
And then on the last leg I somehow managed to bust off not one but both tires.
Two weeks
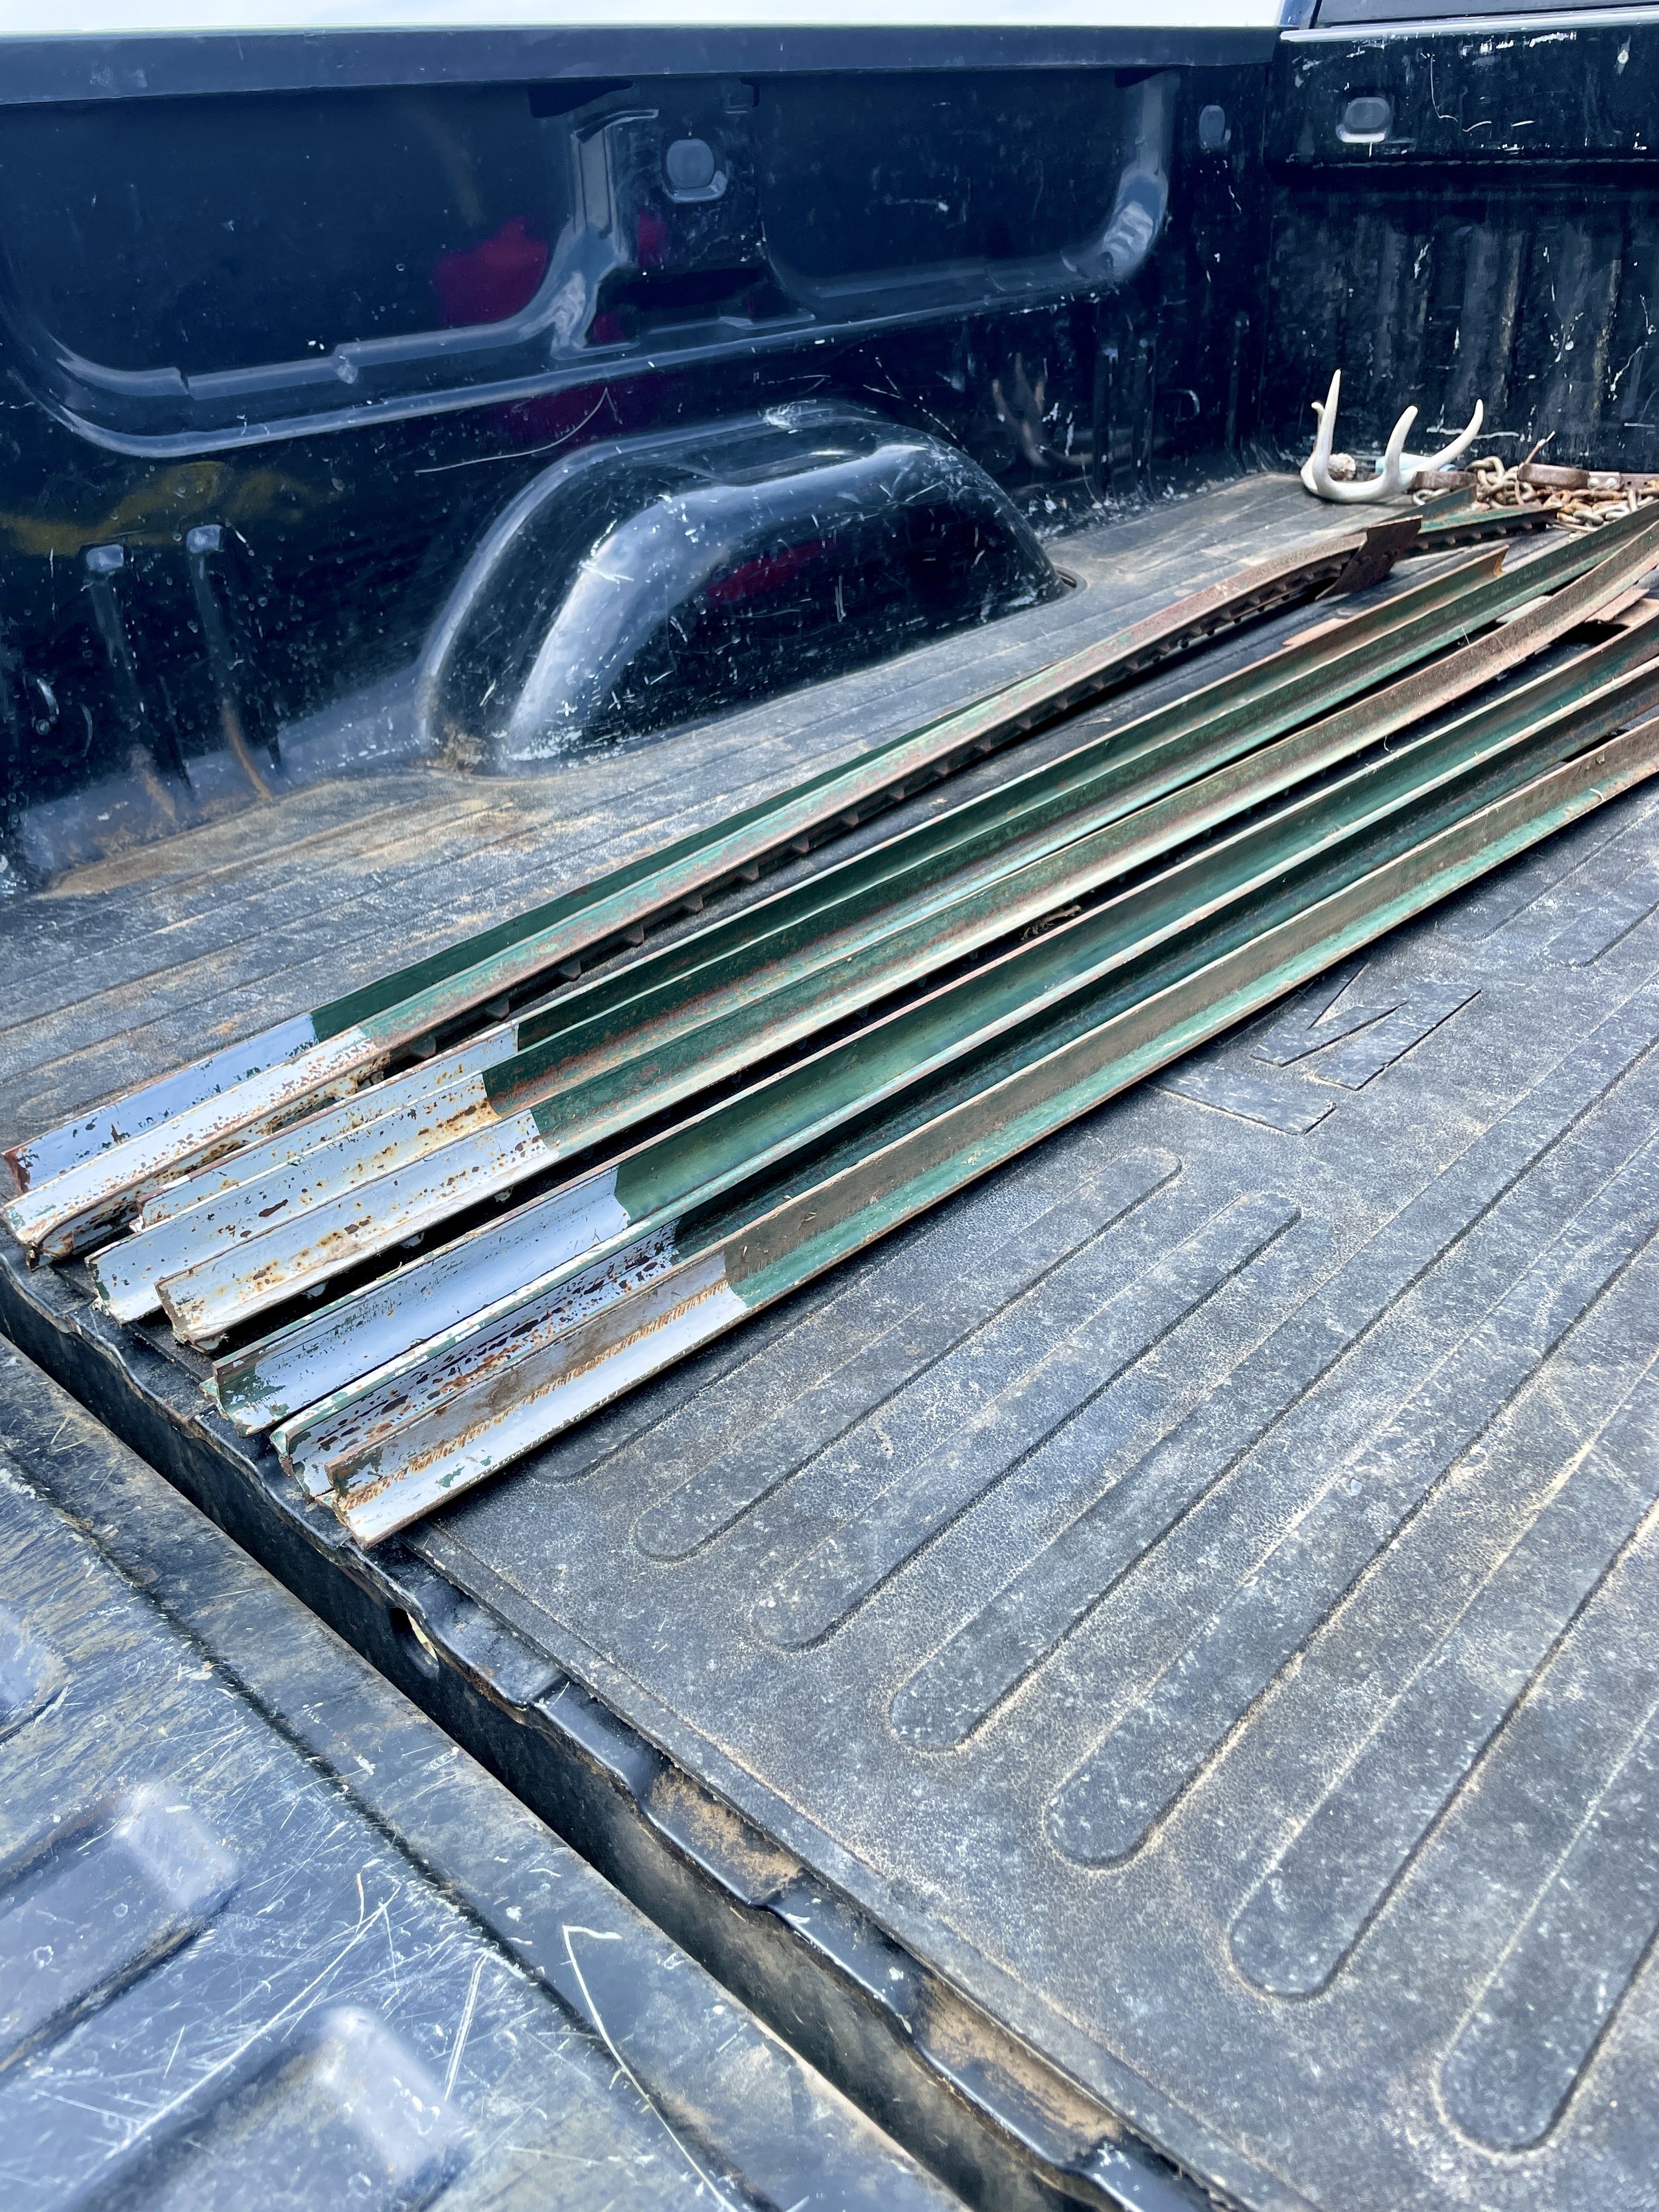
Gather more supplies
With the help of the husband we spent a Sunday hunting and gathering old ranch supplies to build the fence.
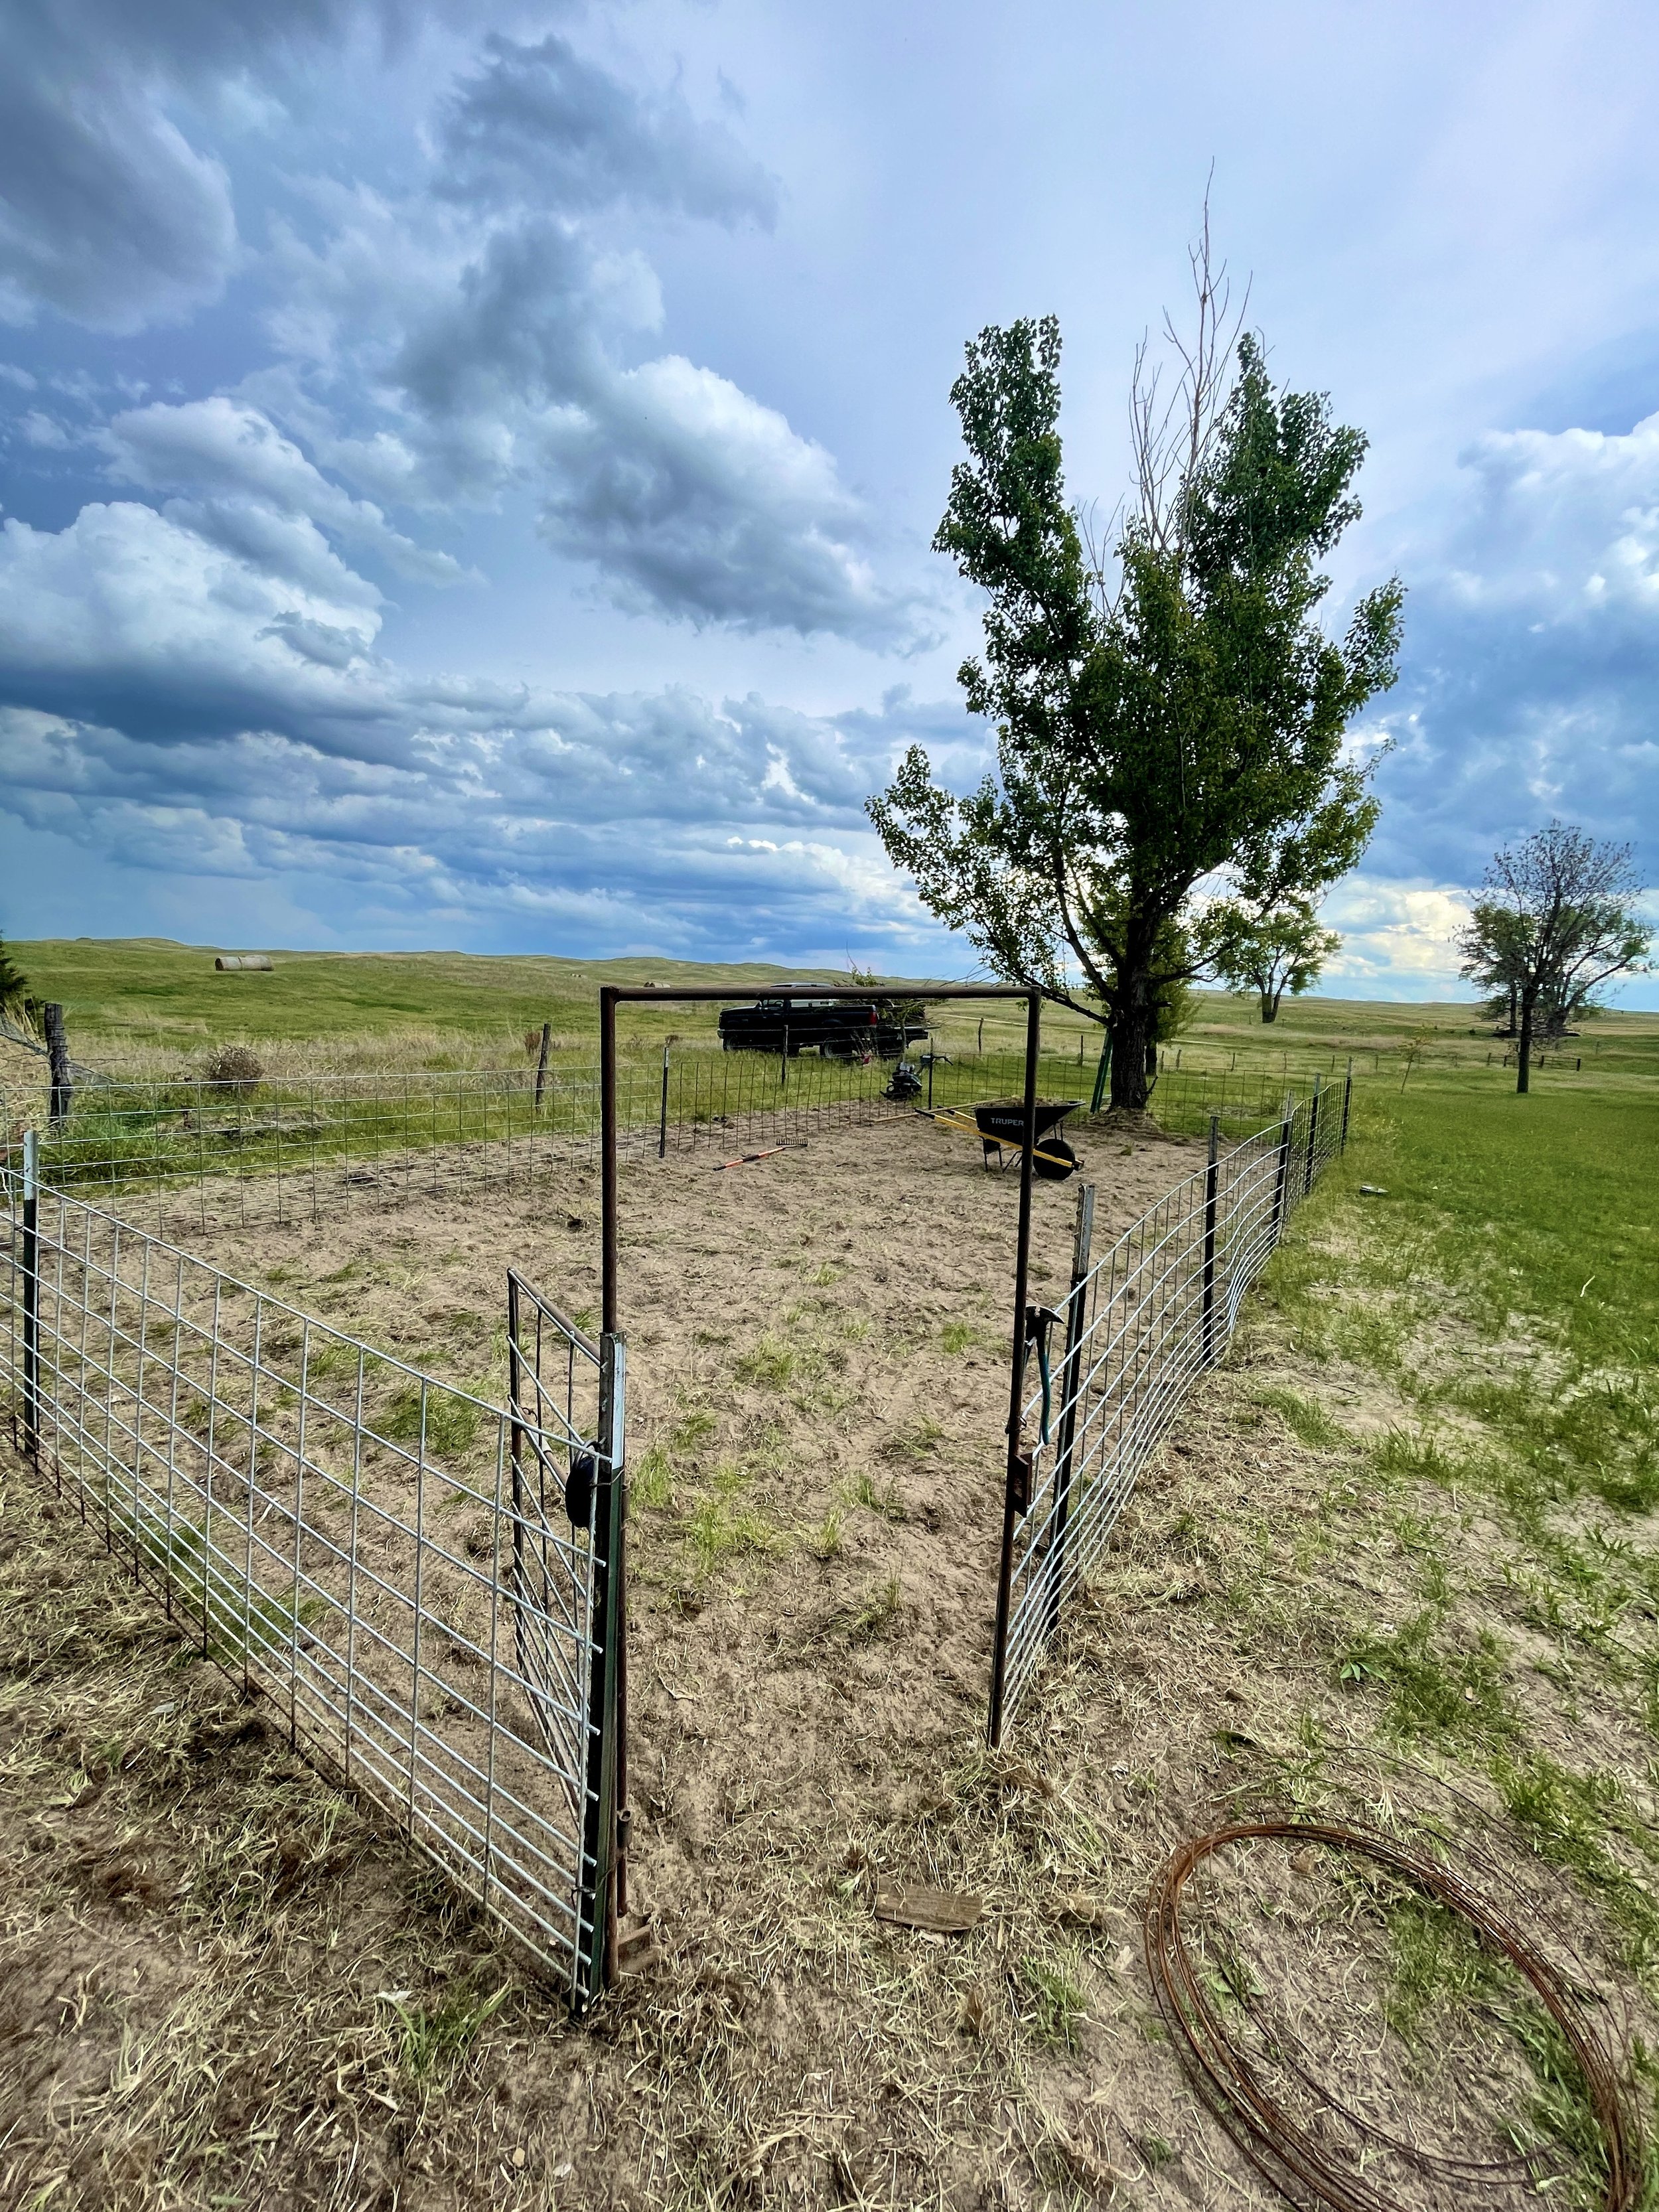
Fence
All fence credit 100% goes to Sawyer. Trust me, I was there for great moral support; ok and maybe to do a little coaching on making sure it looked just right.

Grass + weed clean up
By this point in the process there were many supplies strung out and some weeds already starting.

Helpers
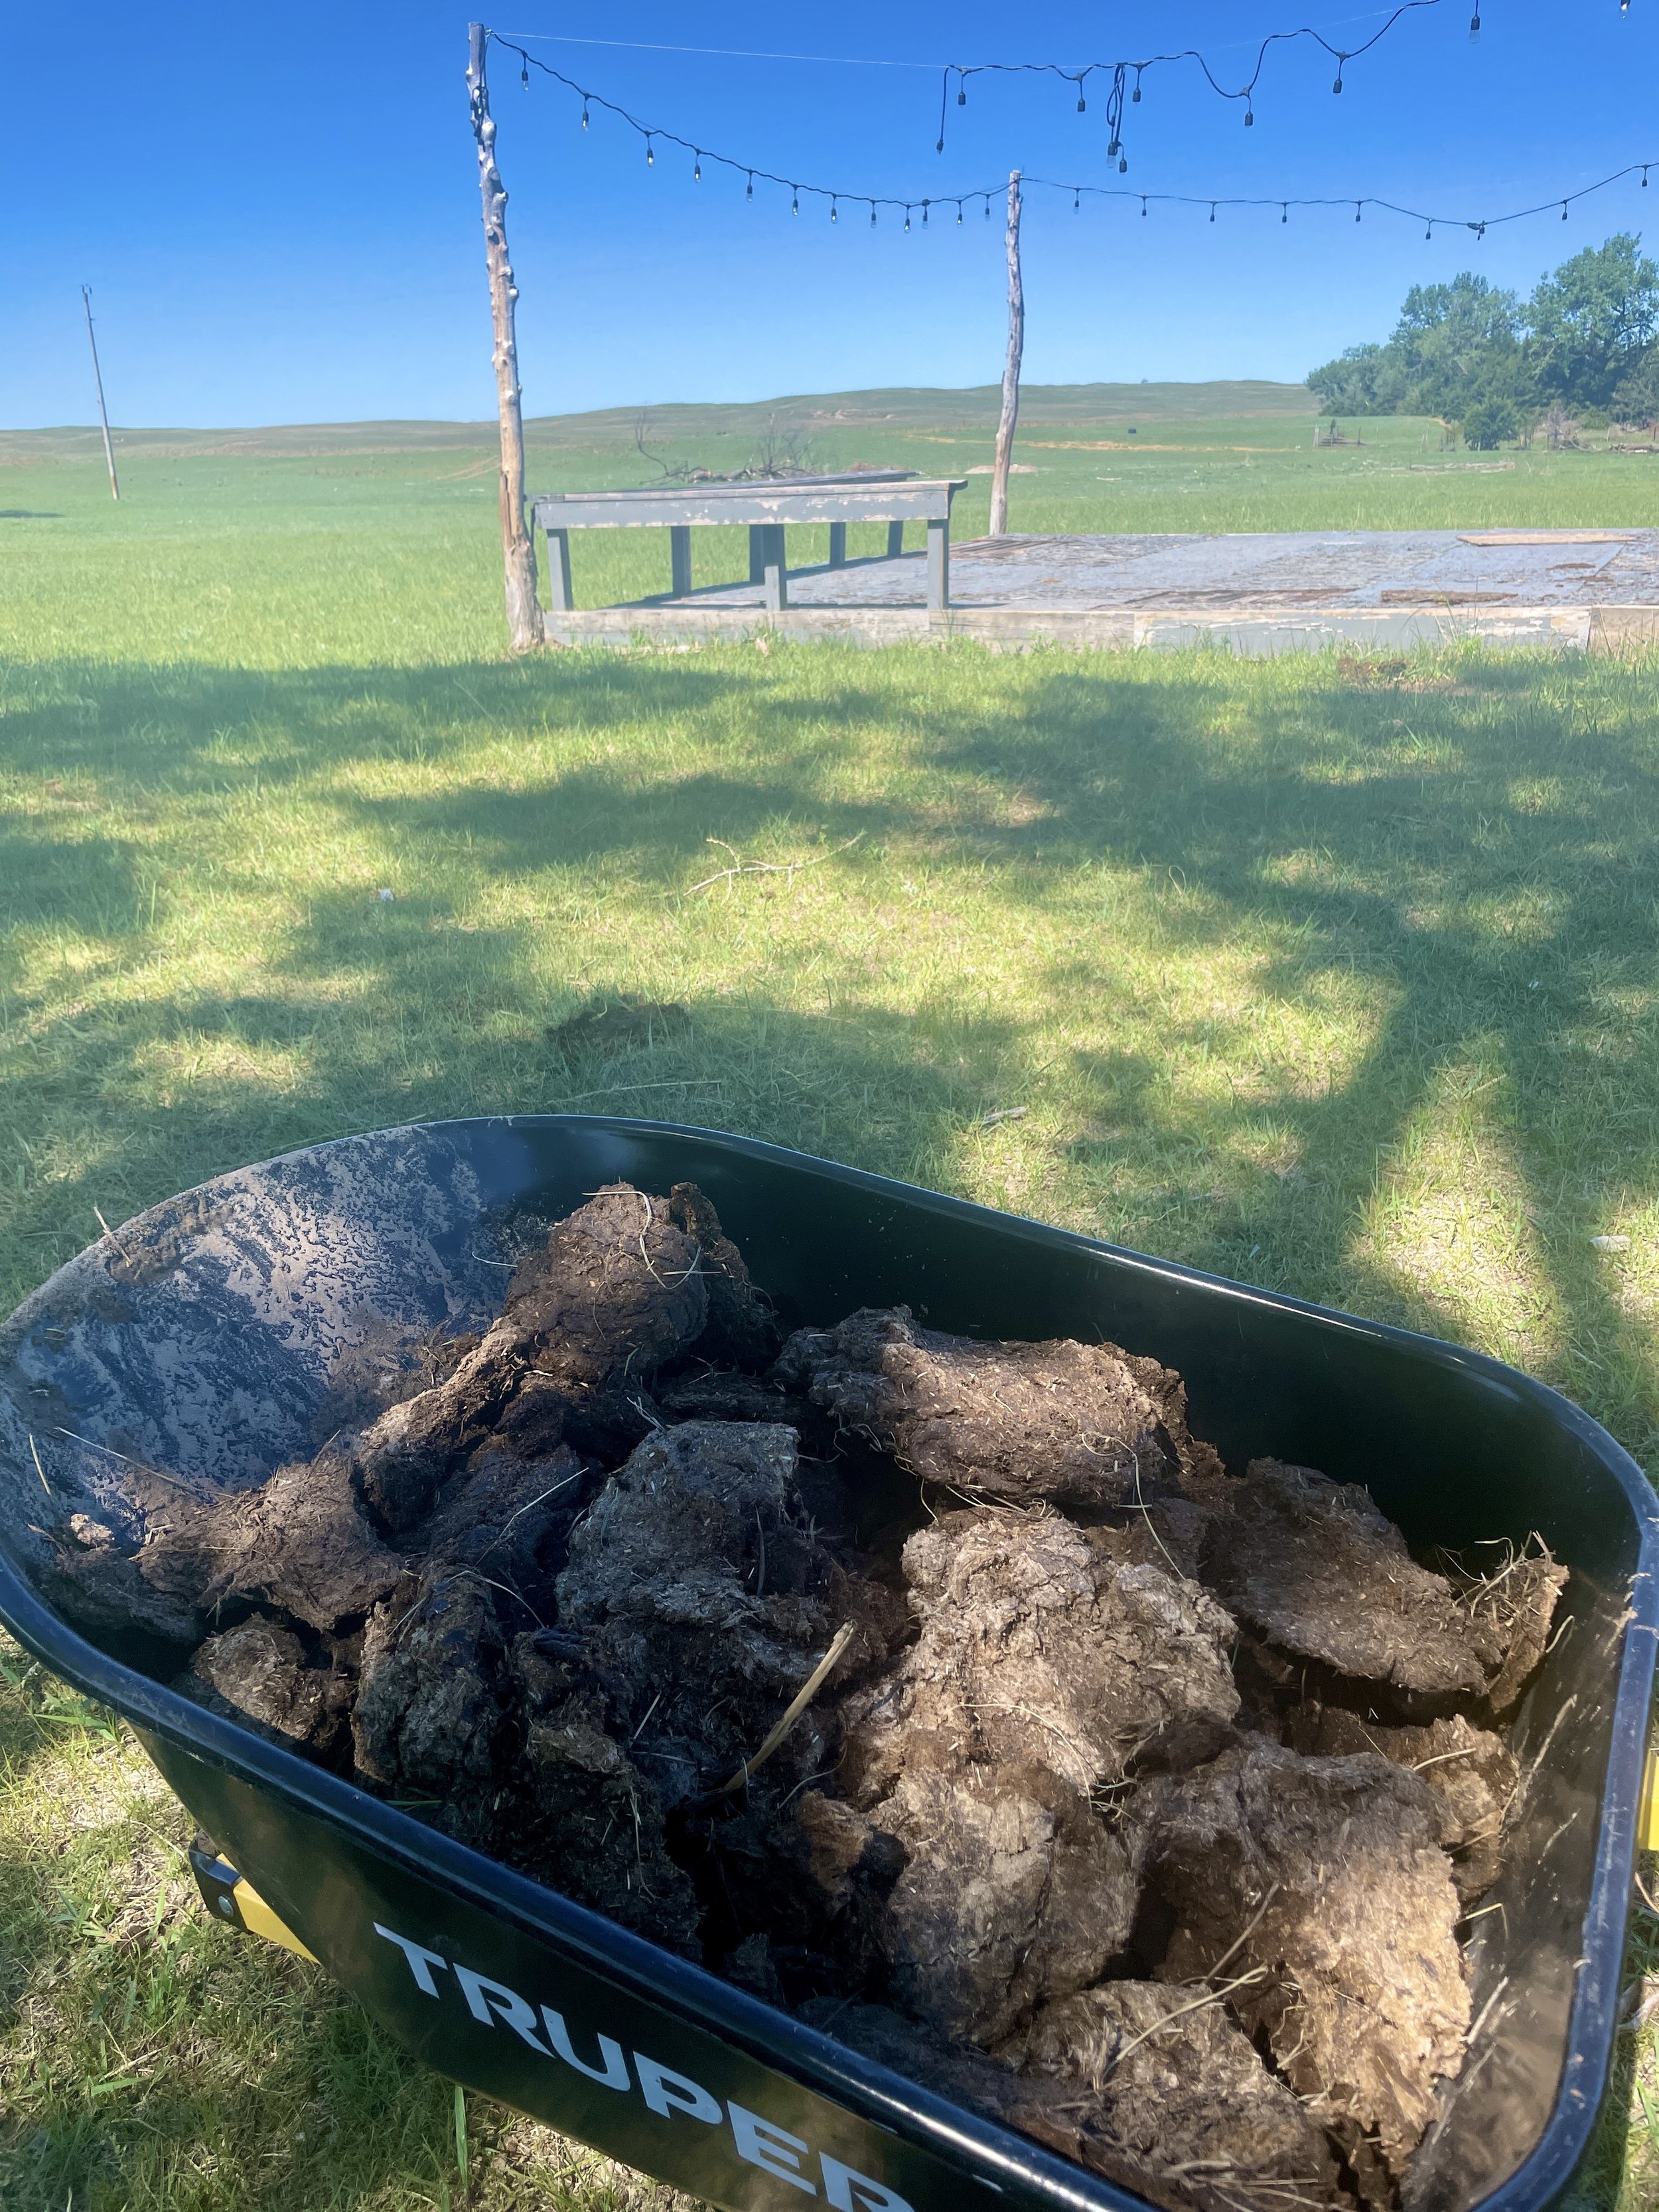
Cow shit
Next I gathered a wheelbarrow full of dried cow shit to till in for more nutrients since the good ole Sandhills sand doesn’t provide much of that.

Till round two
Thanks to having amazing neighbors I found a much better tiller to borrow for round two to break down the cow shit + get a little deeper.

Snacks + more help

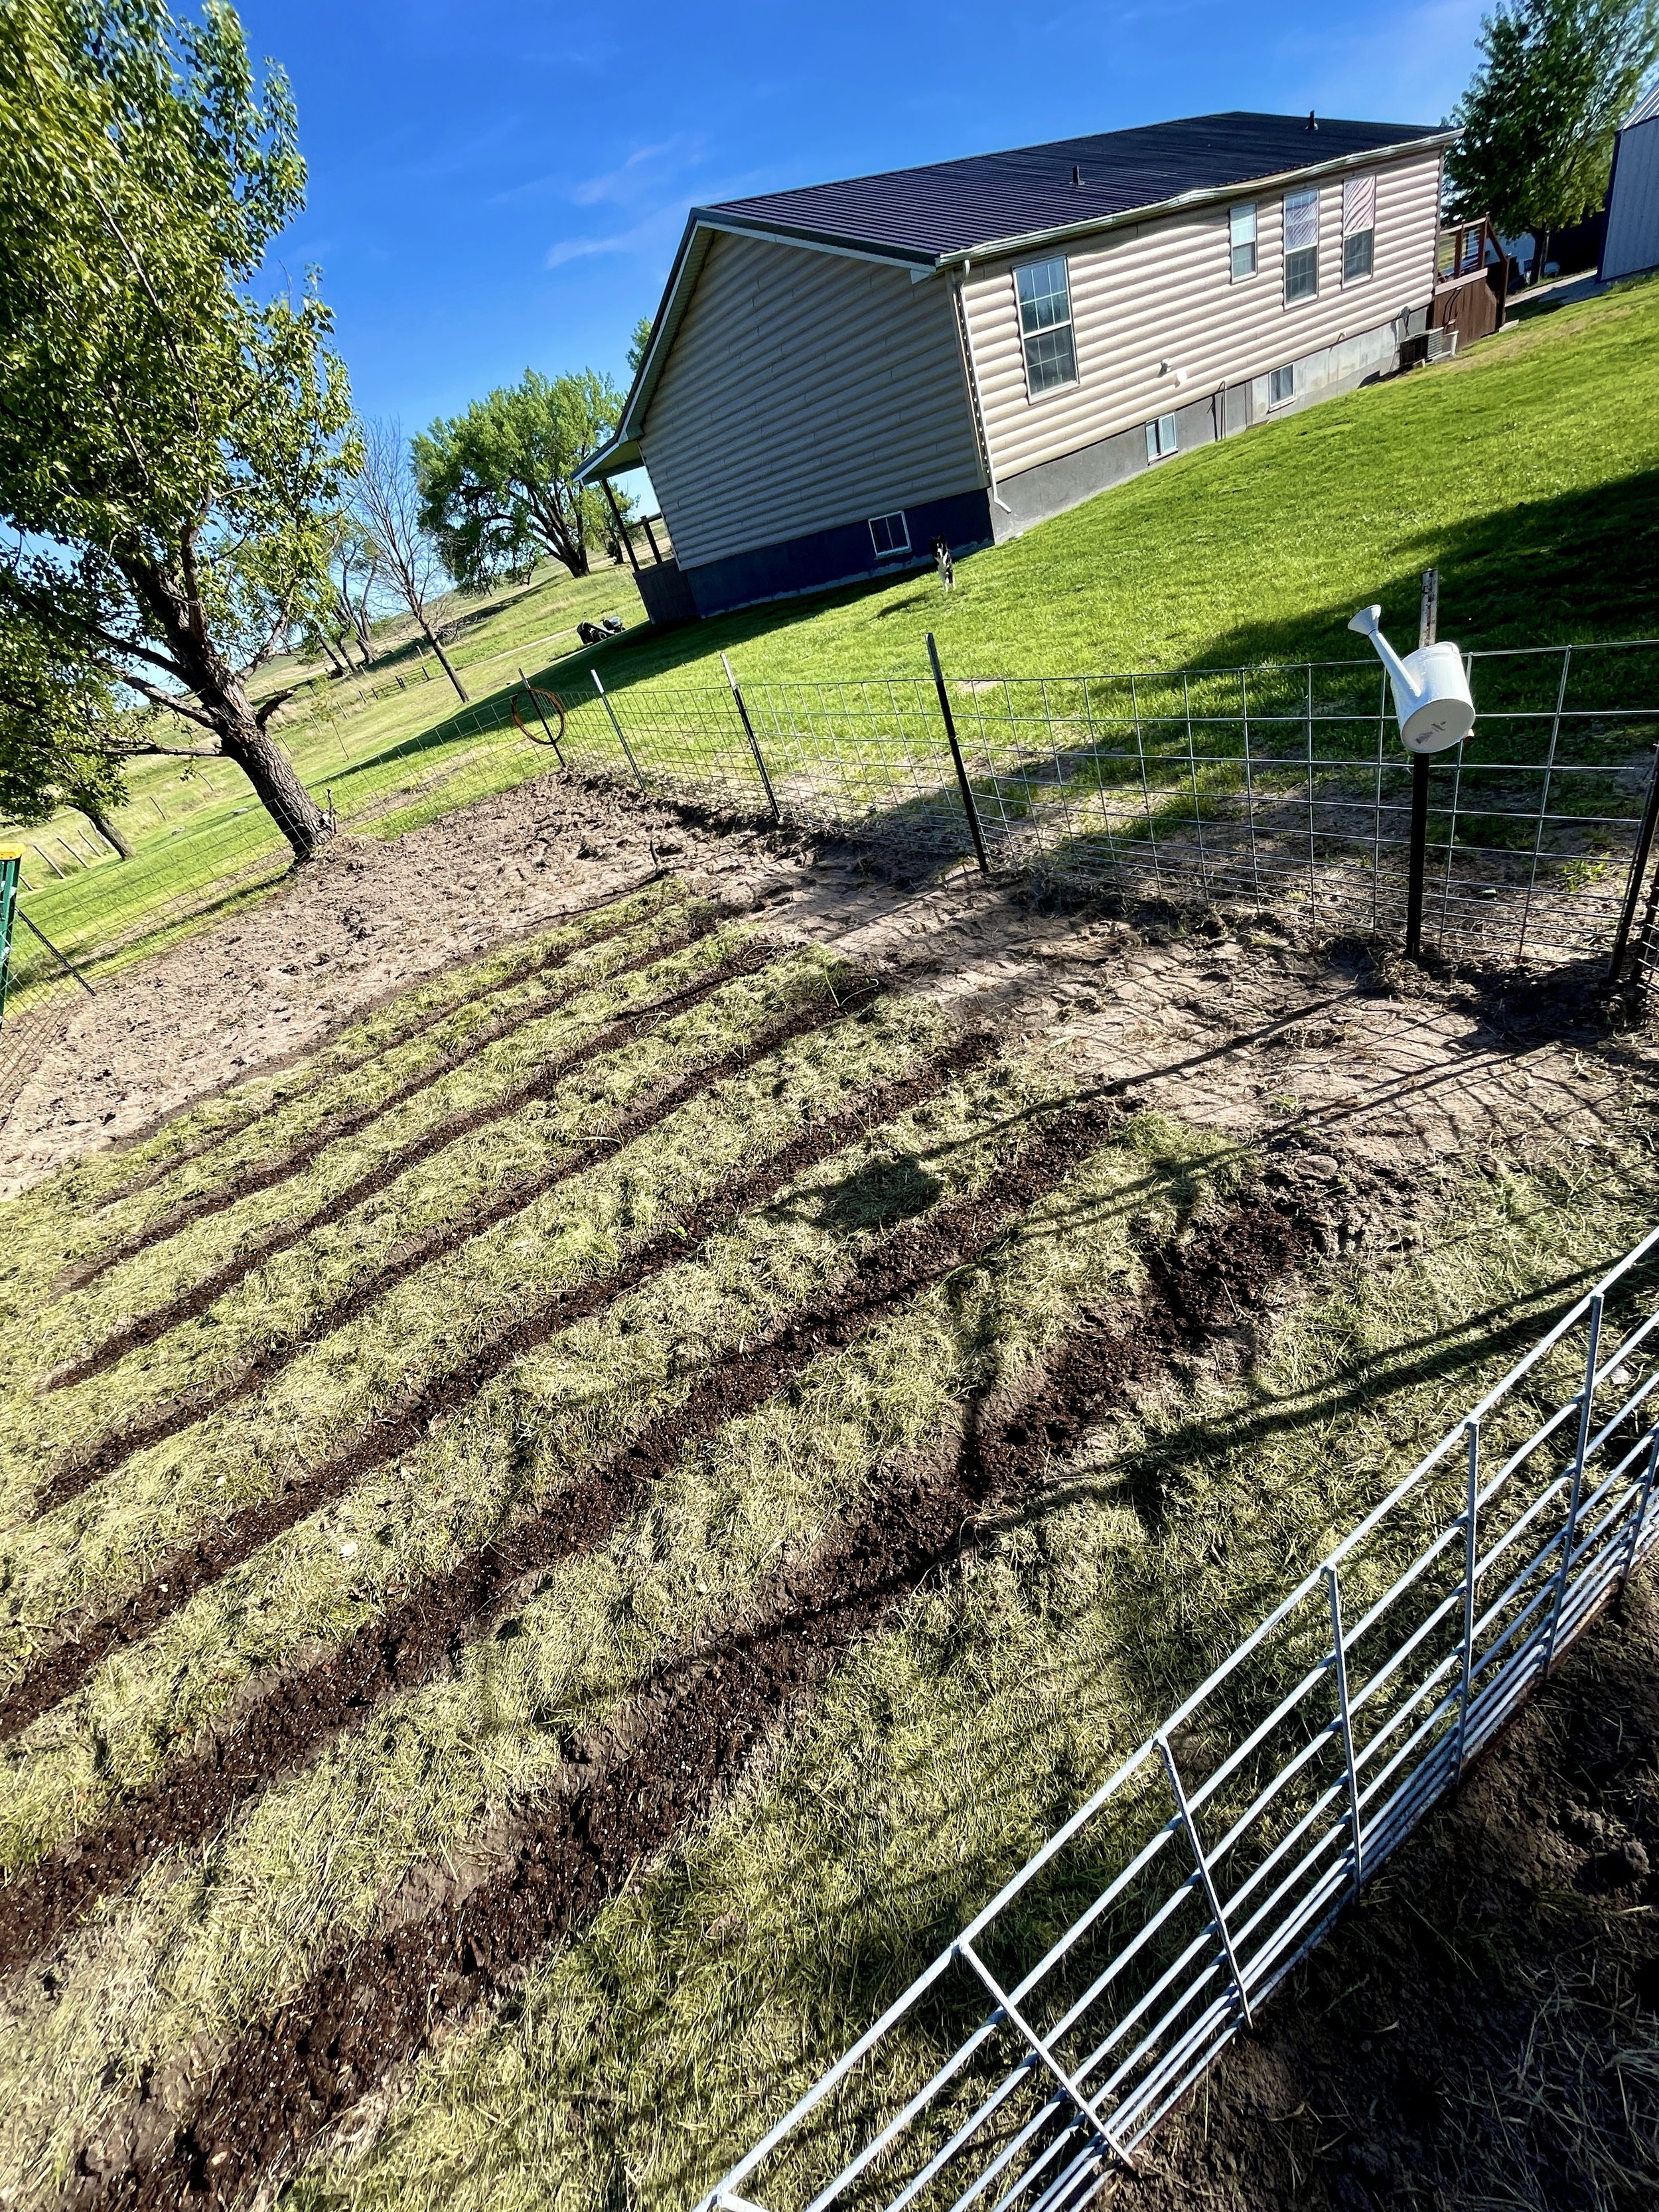
Seed starter + egg shells
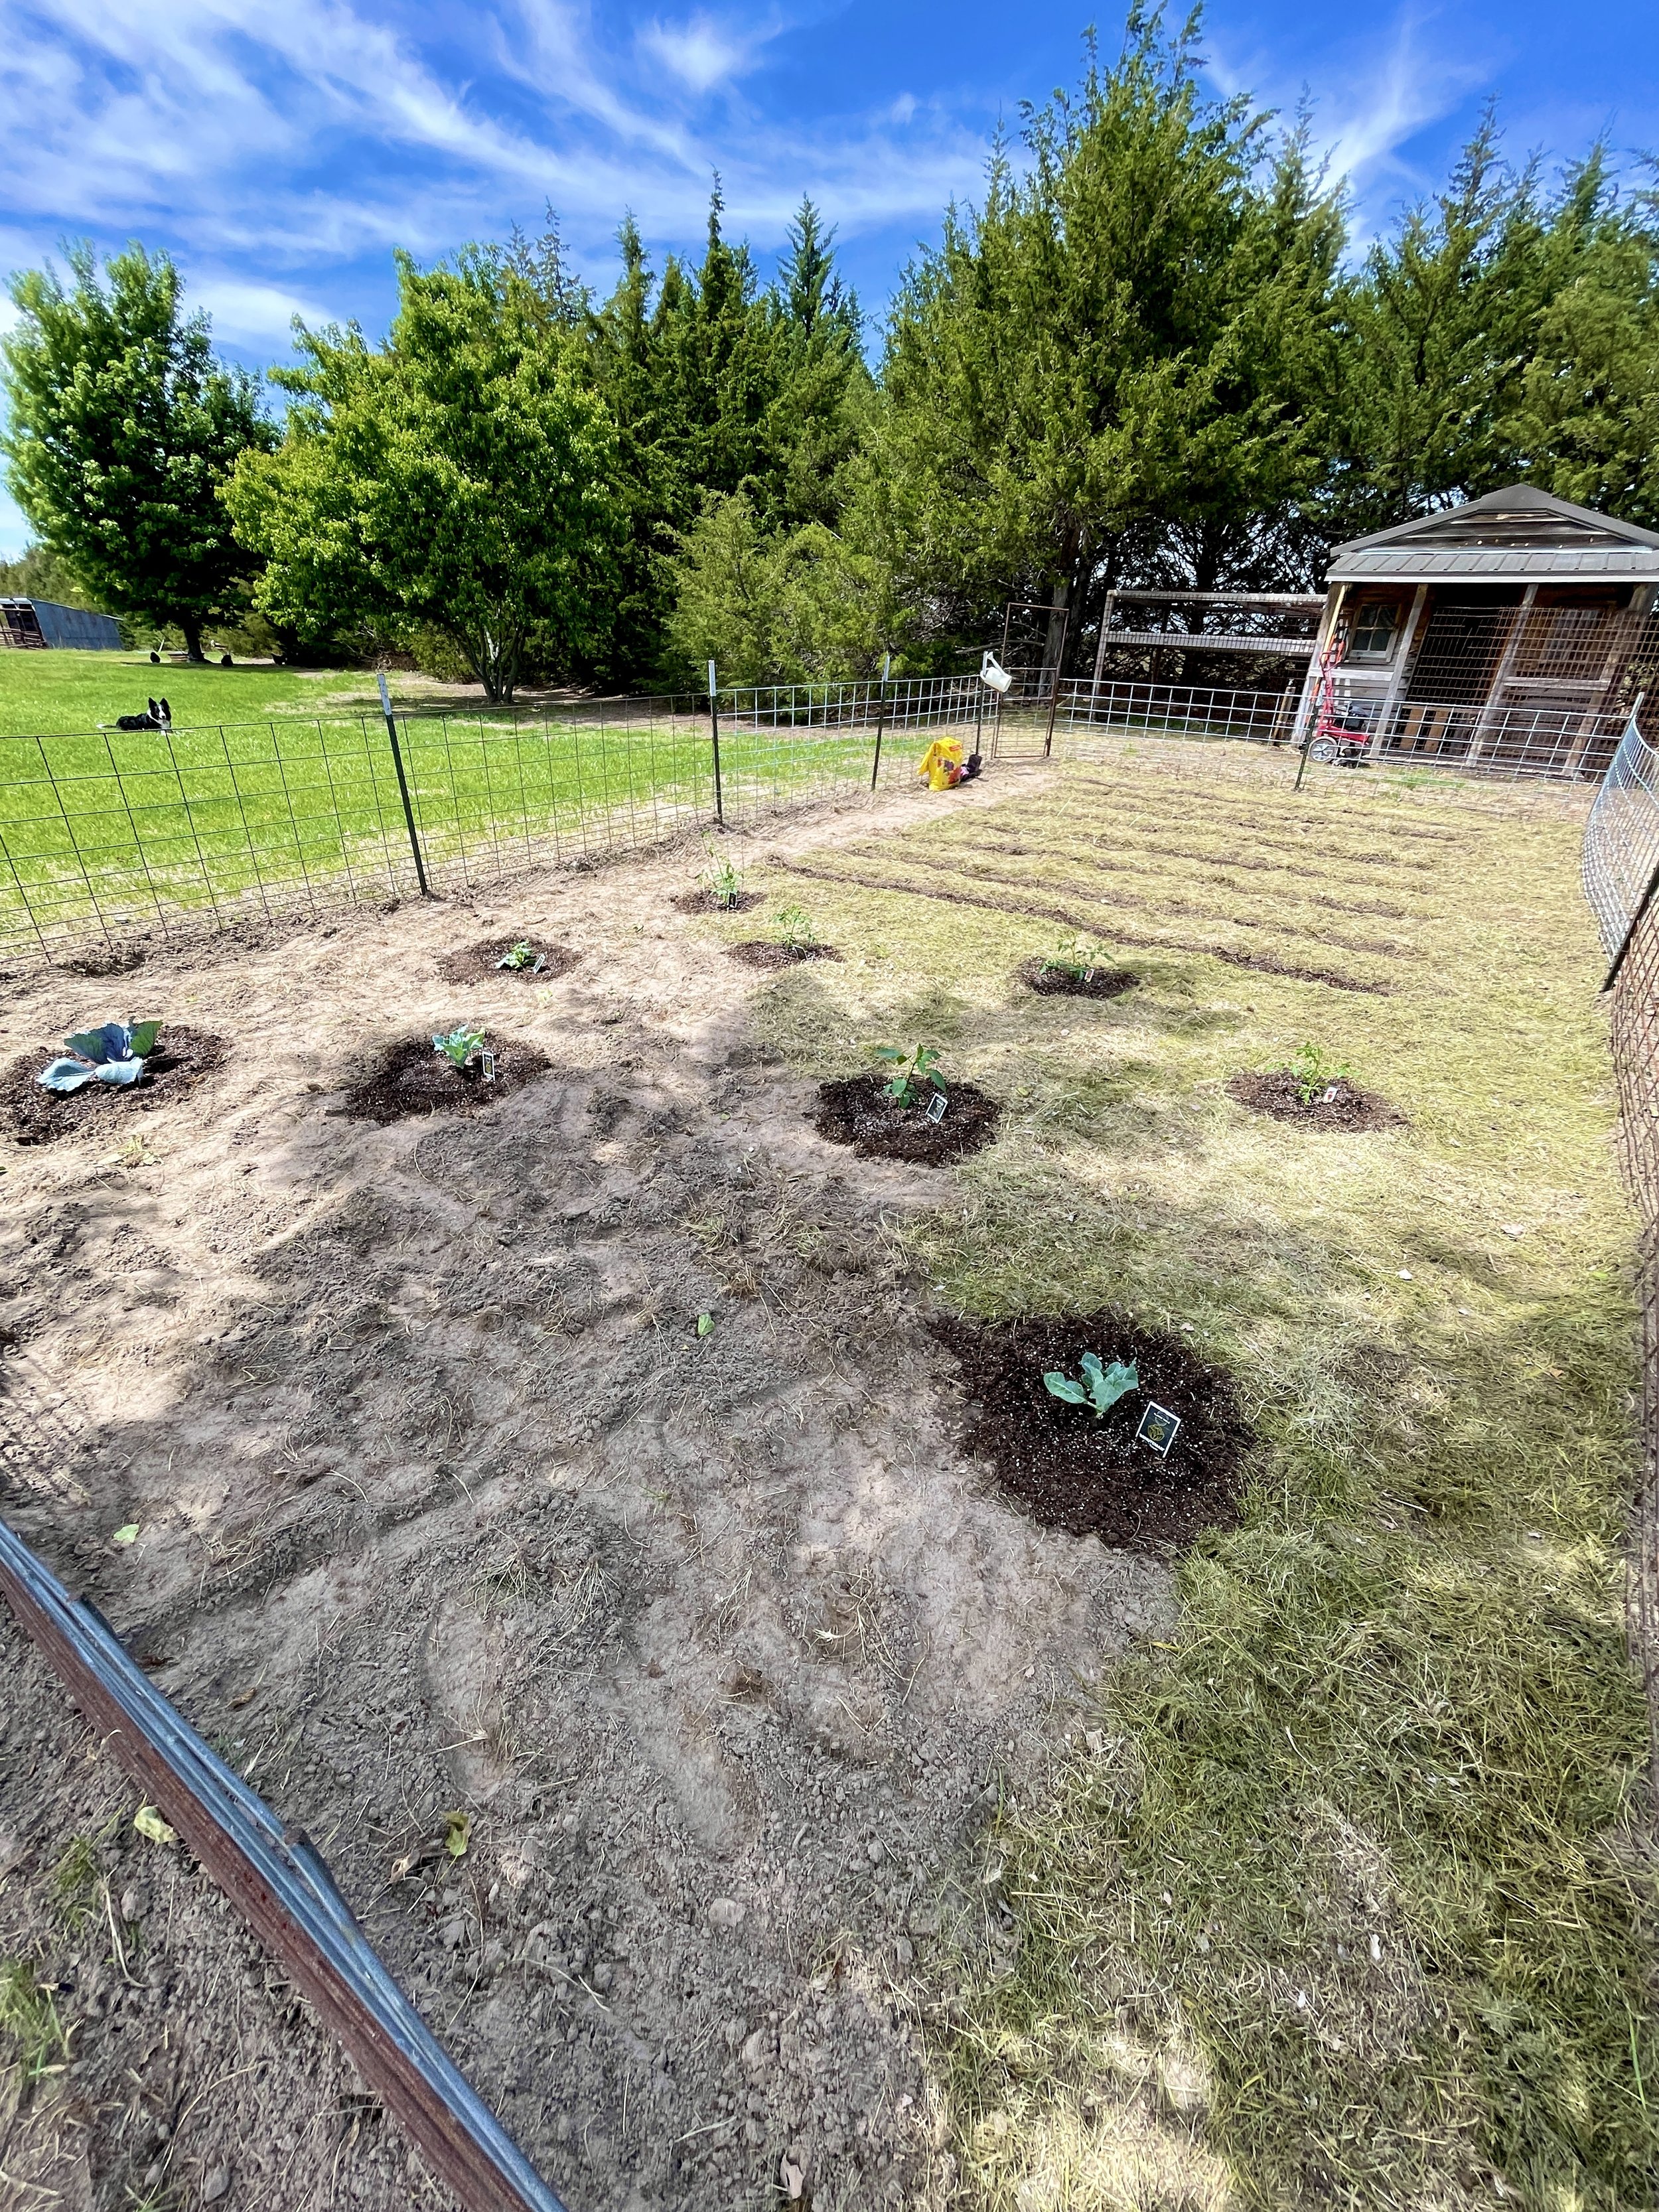
Finally the fun part, putting it all in the ground. I dug rows, sprinkled more seed starter mix and crushed up egg shells. I then spaced out started seeds in pots. I used about 1/3 of each row for started seeds in pots and the other 2/3 of each row to put seeds directly in the ground. Unfortunately not many of the seeds started made it in the ground for very long. I’m going to have to do a little better research on that before next year to find out what I did wrong. I would love to start seeds earlier in the spring for all vegetables so I don’t have to buy any plants.
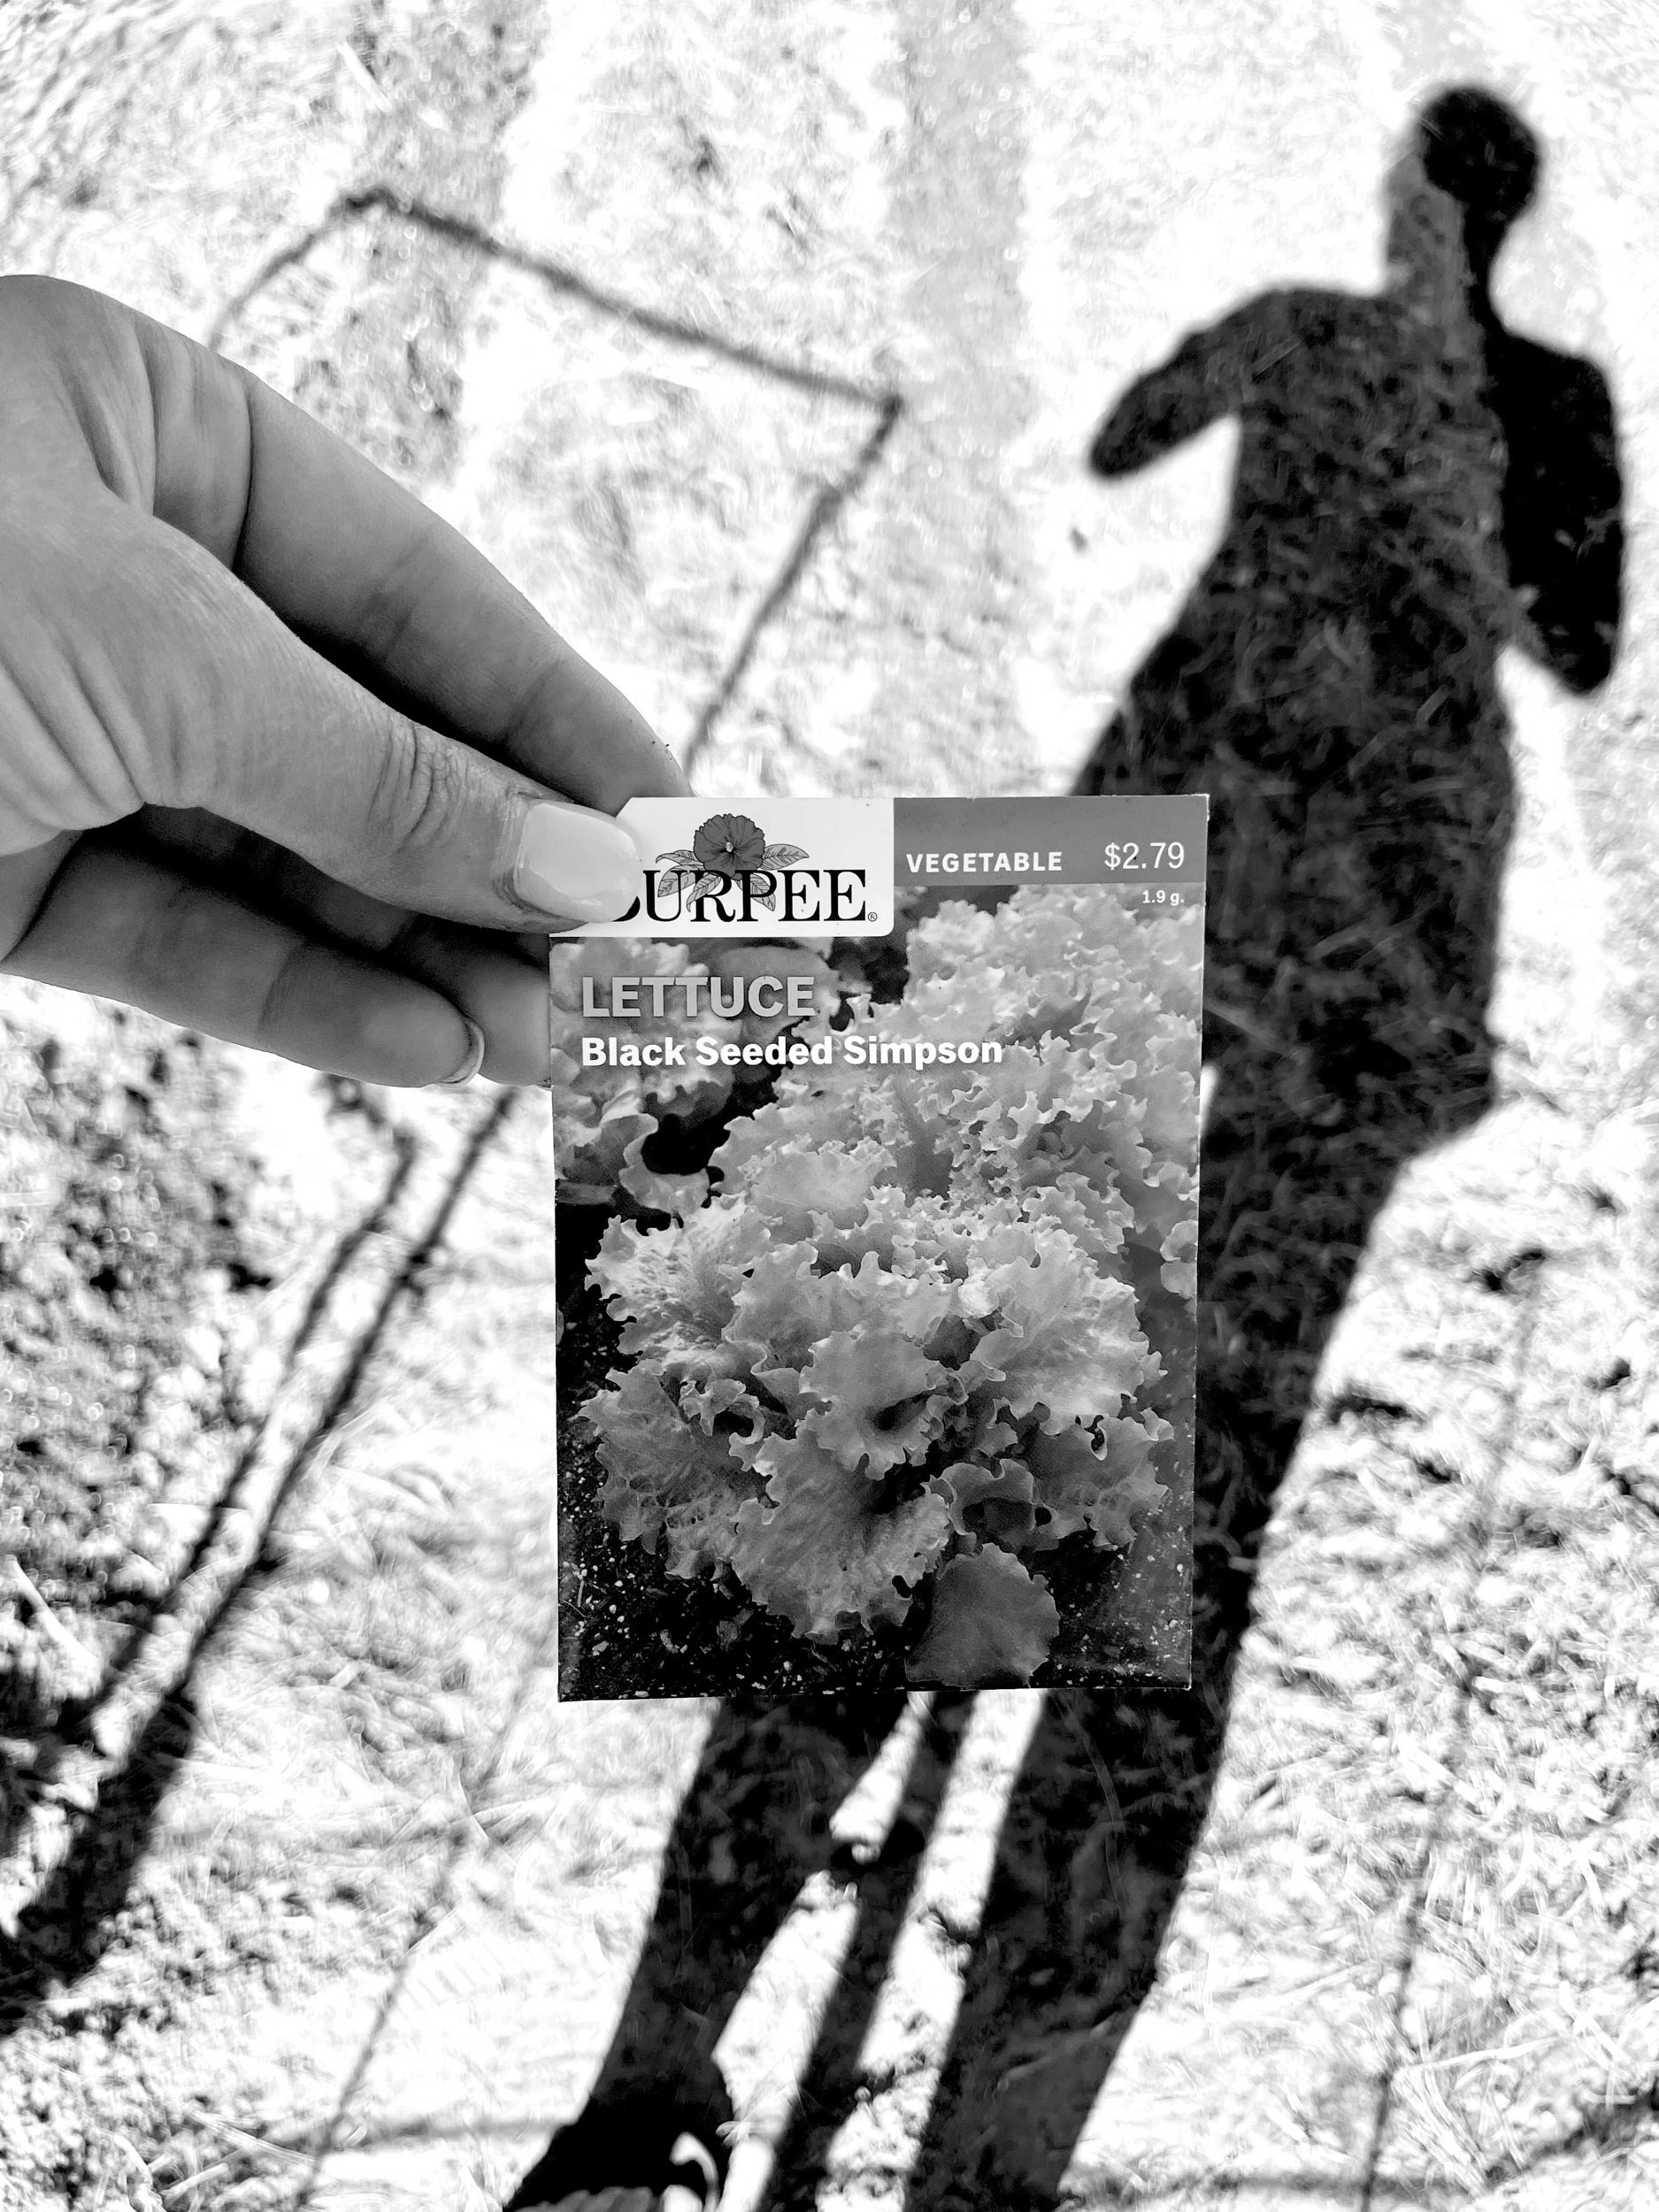
Seeds planted
two kinds of lettuce
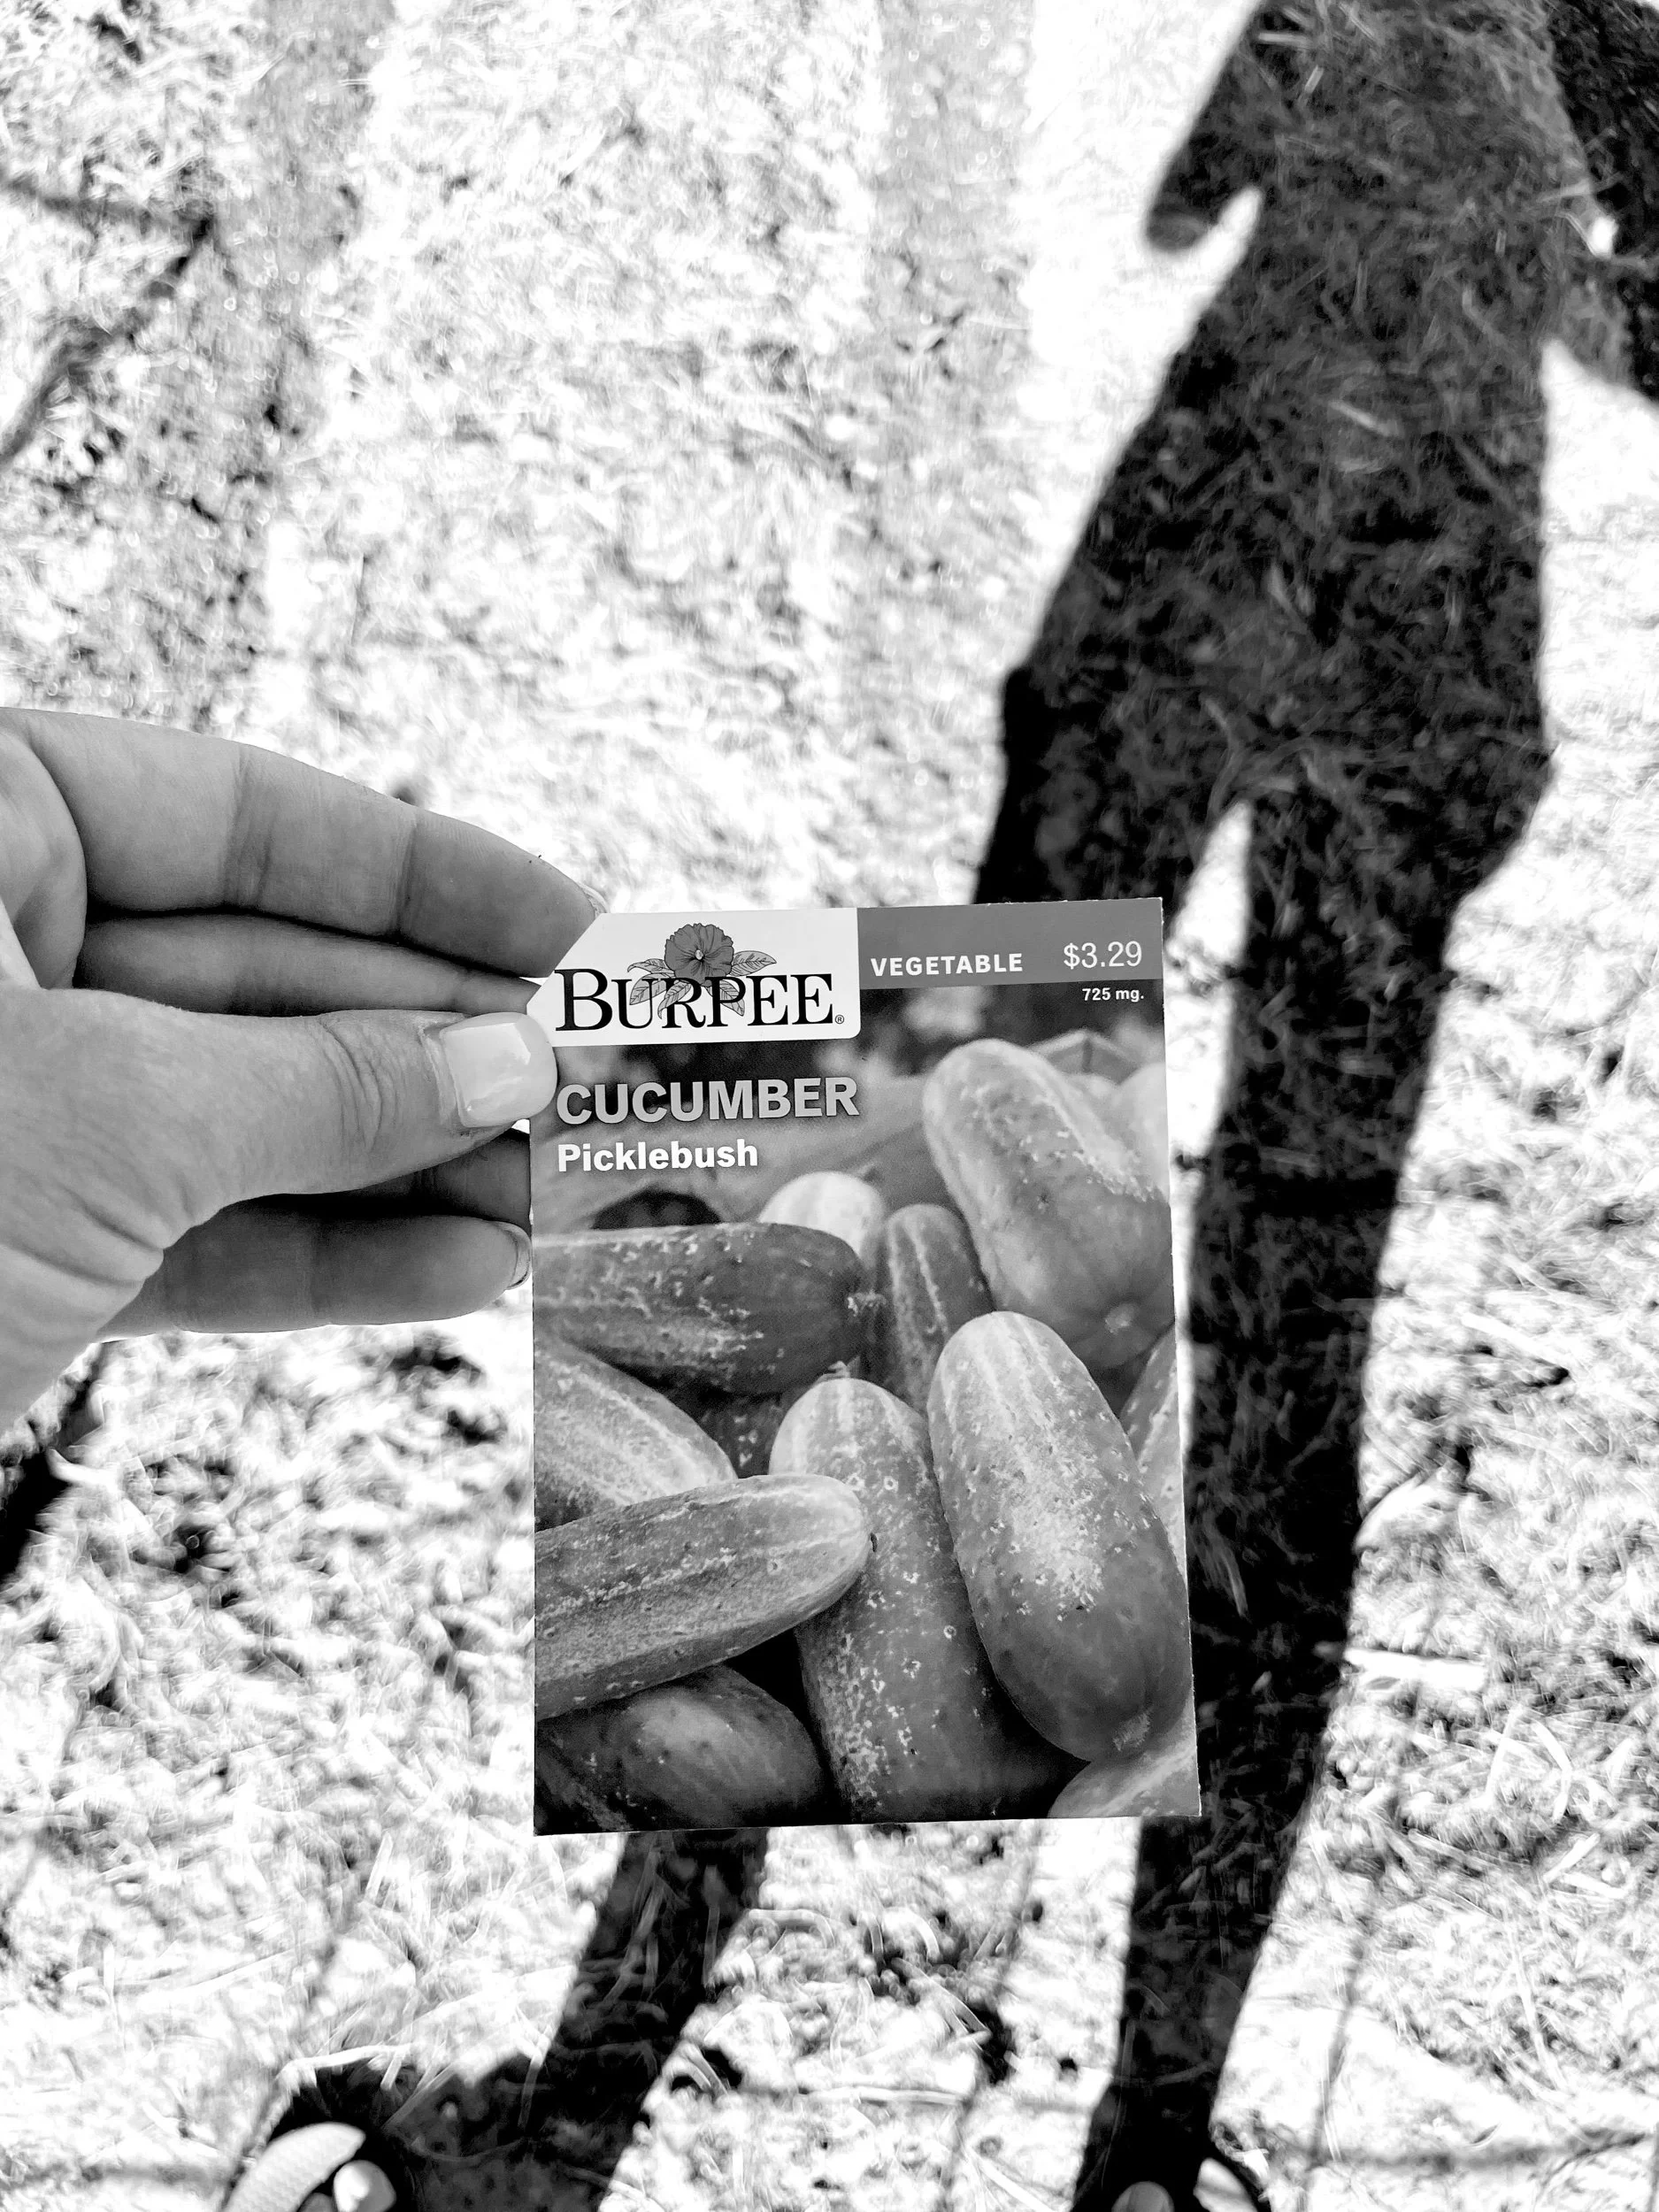
pickling cucumbers
green beans
sugar snap peas
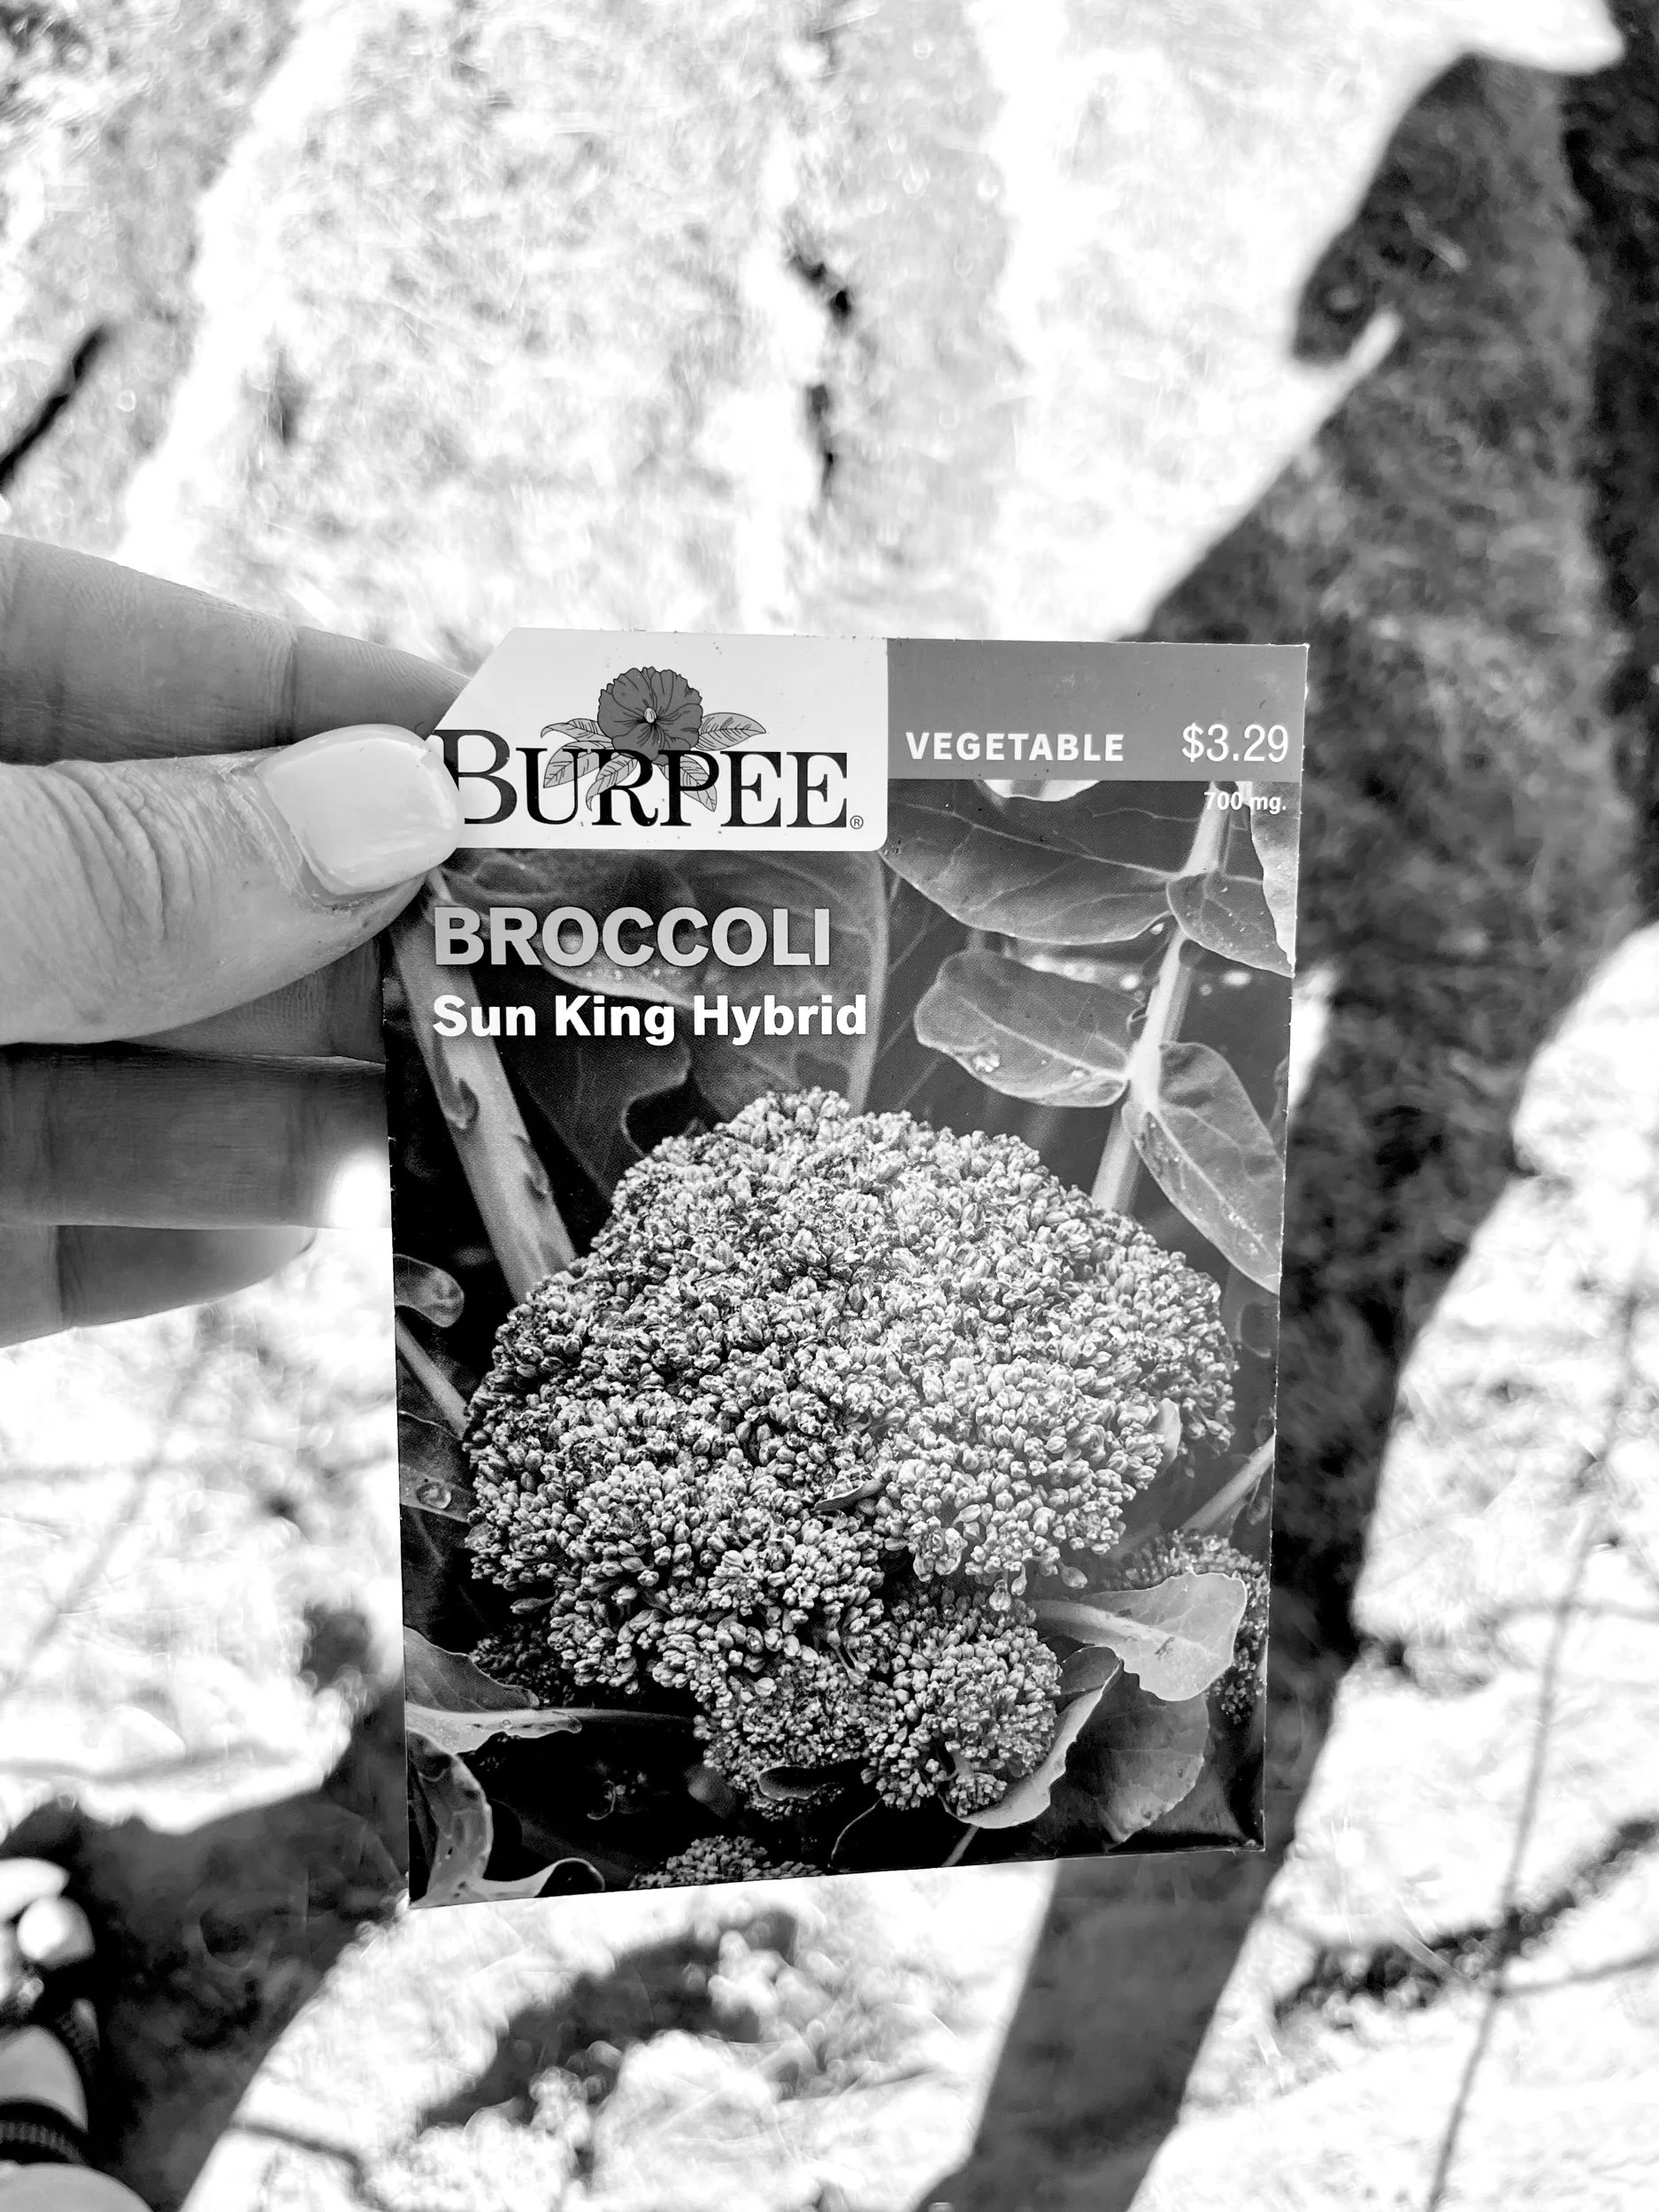
broccoli
two kinds of carrots


Plants planted
four kinds of tomatoes
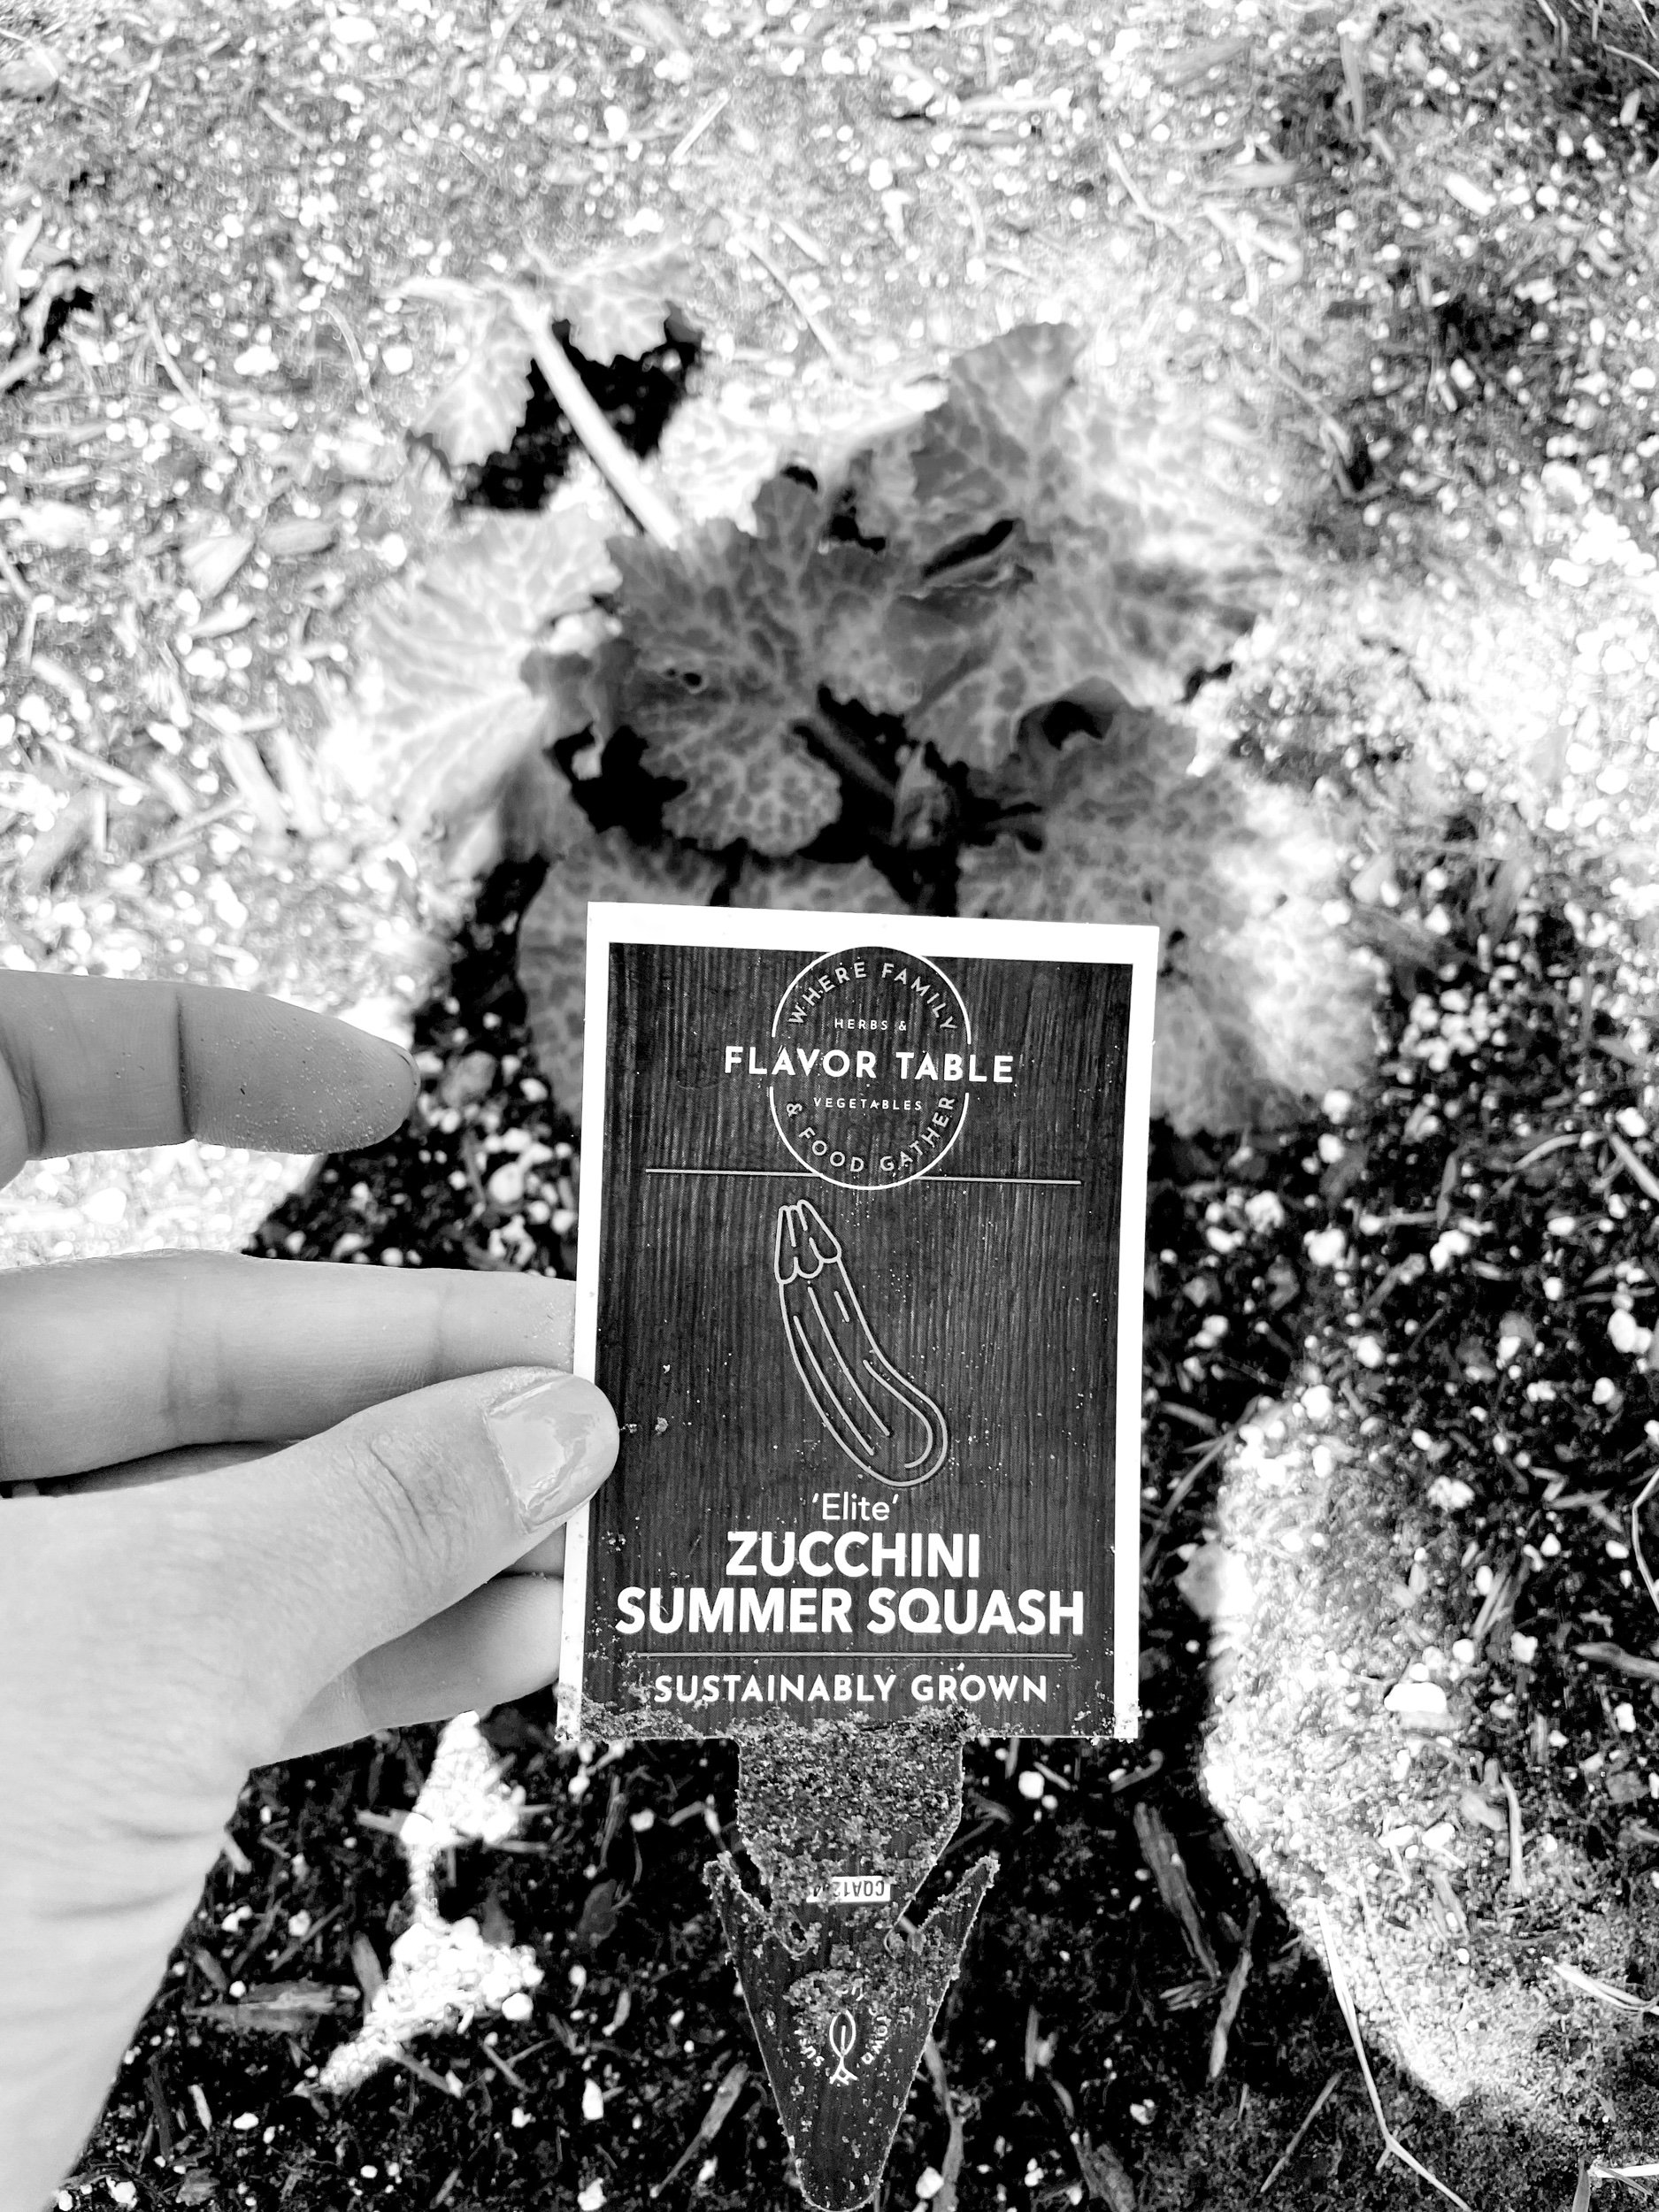
zucchini
jalapeño peppers
two cauliflower
cabbage


Buy more supplies
tomato cages – worth noting, I did end up exchanging the circle kind for the square kind
markers
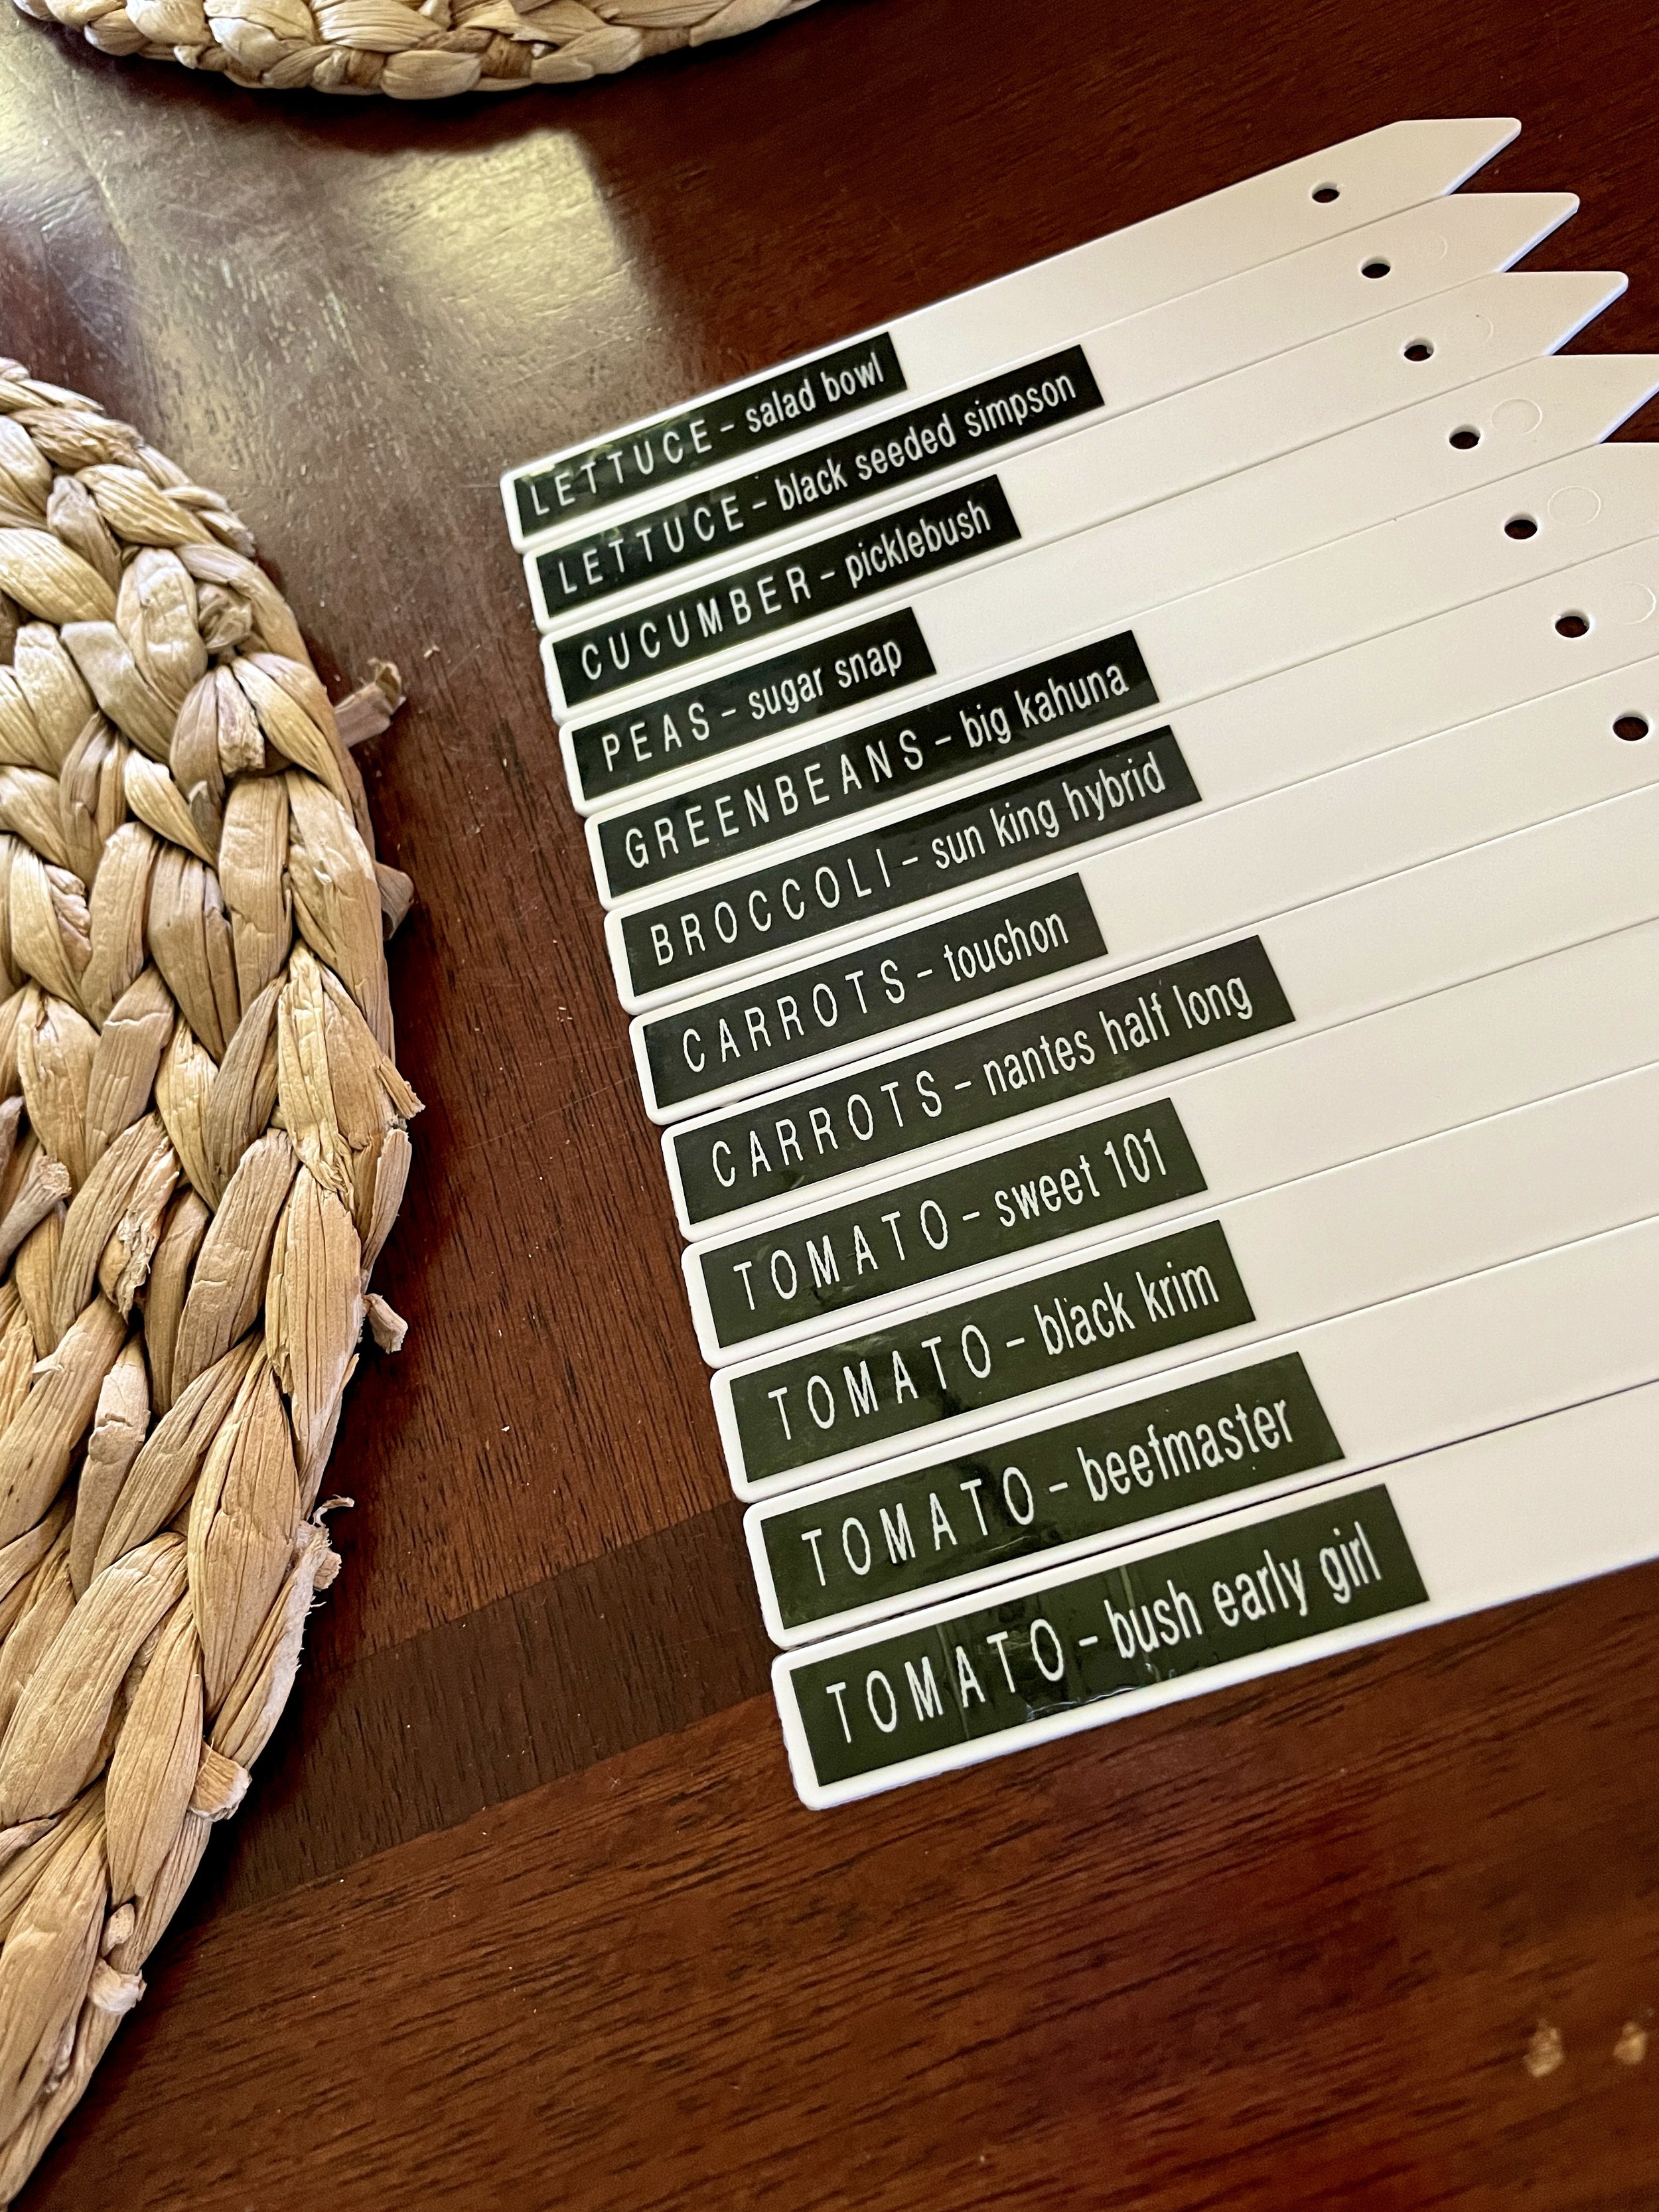
Said markers
Of course they had to be cute… at least until I ran out of label maker tape.
And with that June came to a close. Stay tuned for a monthly update by filling in the form below!
